
Profile & Strip Fit
Match the channel to your LED strip, connectors and the space behind the finished surface.
Explore plaster-in LED profiles, also called mud-in LED channels, for integrated wall and ceiling lighting. Compare perforated-flange sections, board and finishing details, and matched components for your product.
Match the channel to your LED strip, connectors and the space behind the finished surface.
Plan the profile, board opening and finishing build-up together for your installation.
Explore diffuser and end-cap options for the profile used in your lighting product.
Discuss cut lengths, machining and finishes around your production requirements.
Open a model to review its section drawing, diffuser options and integrated mounting reference.
6 Profiles
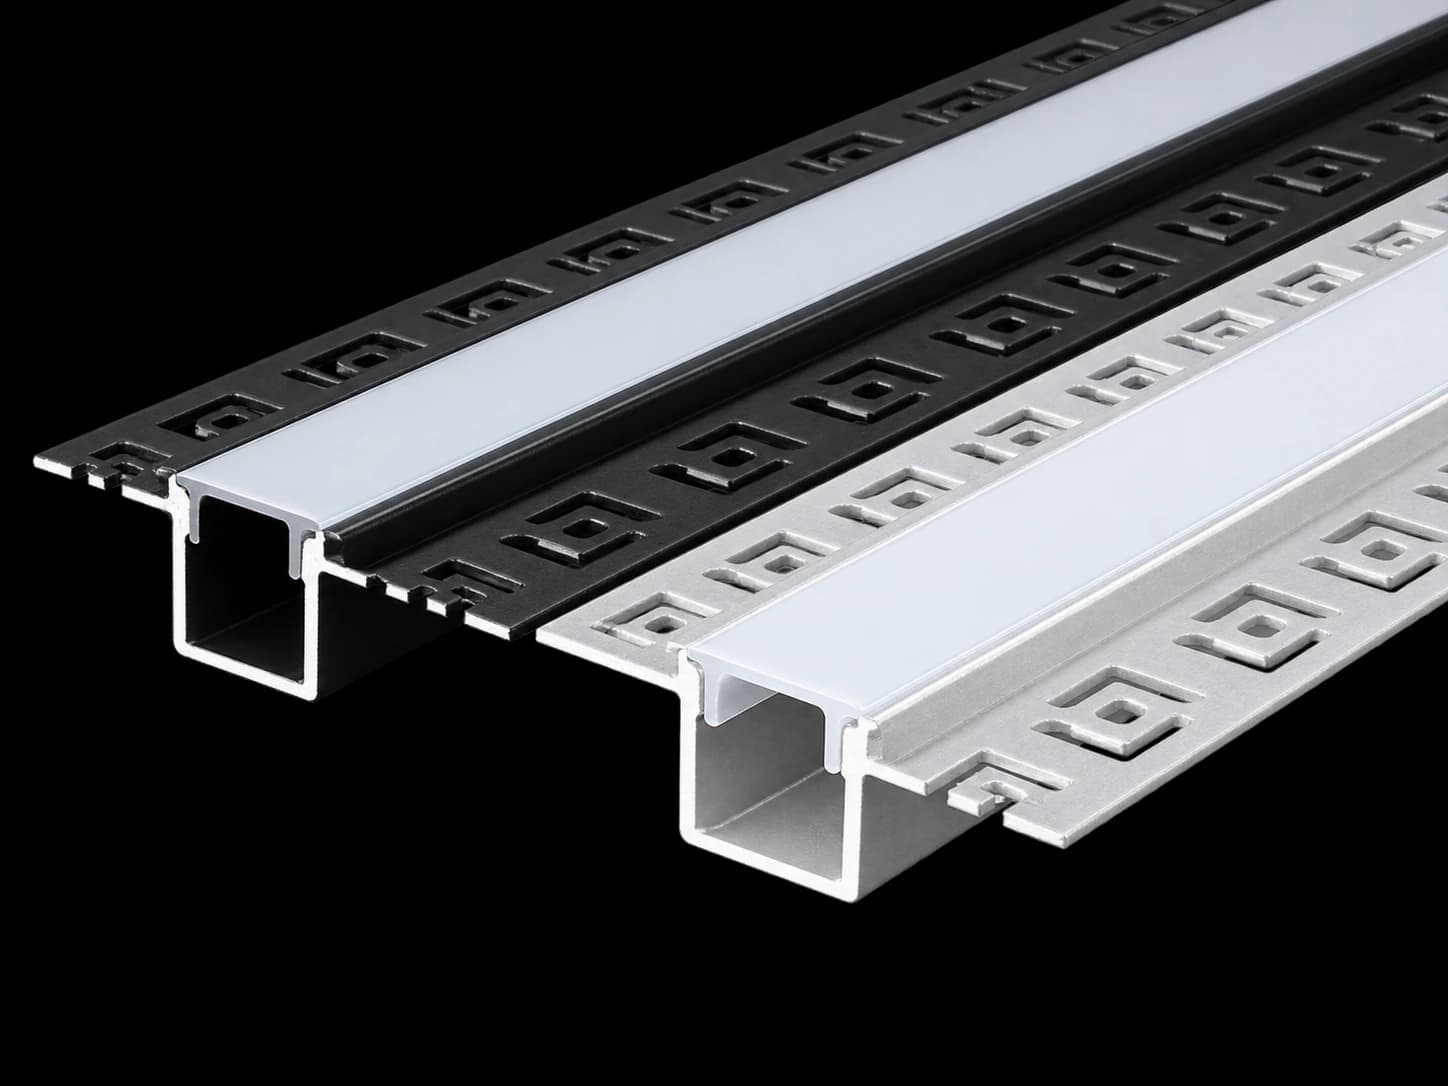
A narrow channel with perforated wings for integrating a line of light into a finished wall or ceiling.
View Product Details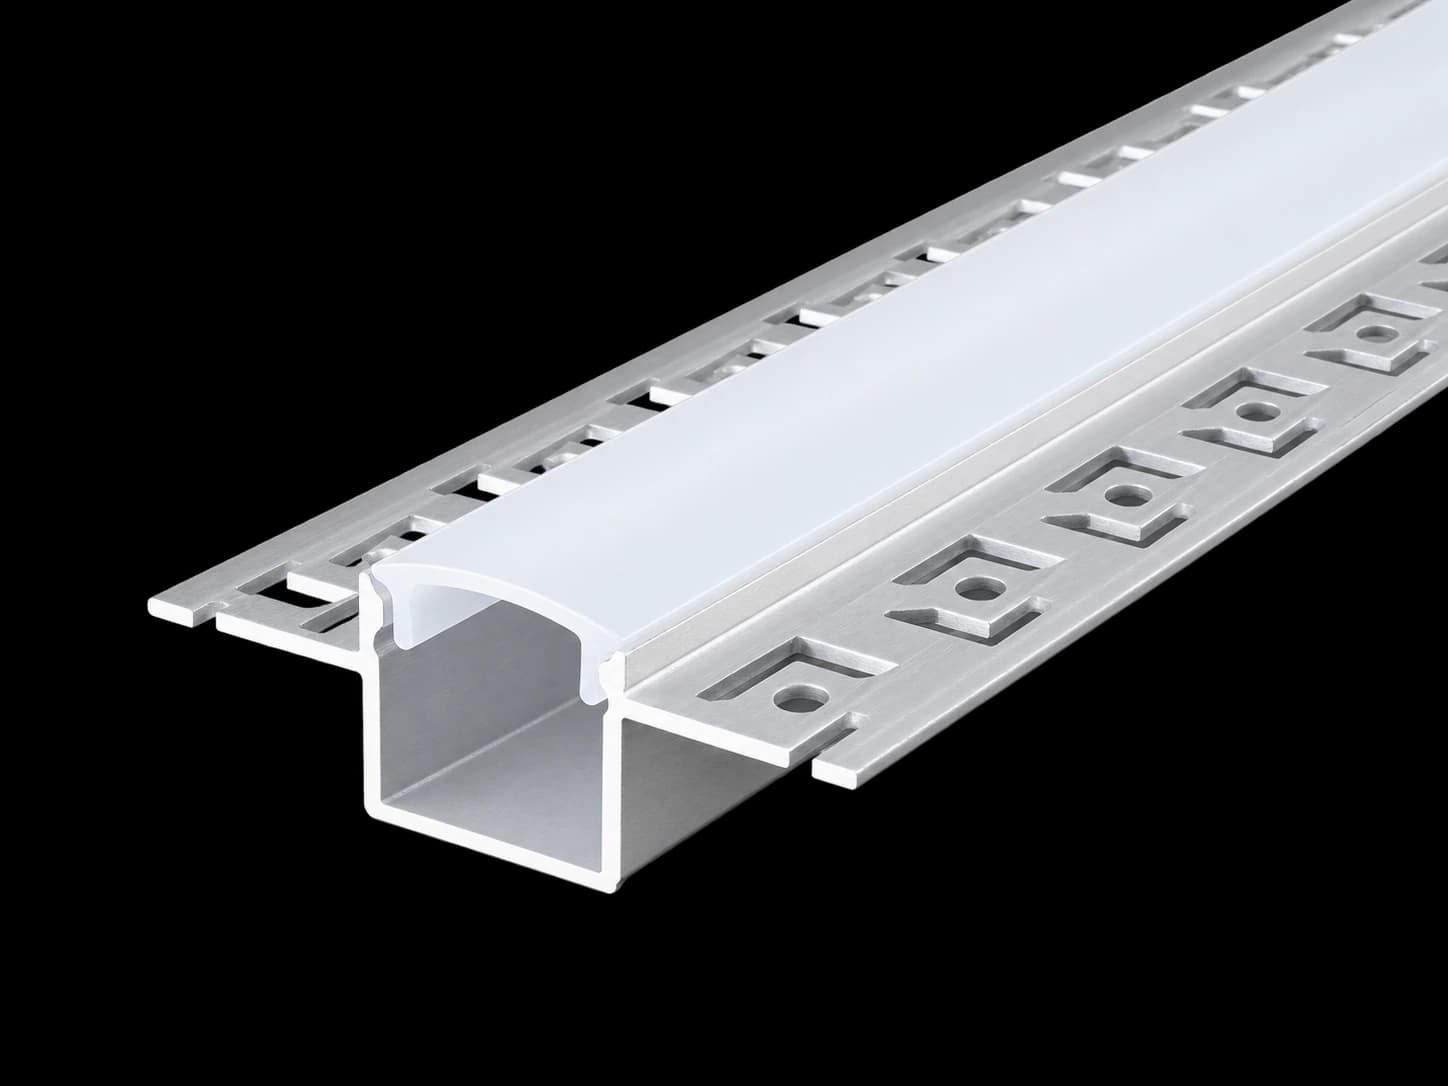
A compact perforated-flange section with a gently curved diffuser for integrated lighting details.
View Product Details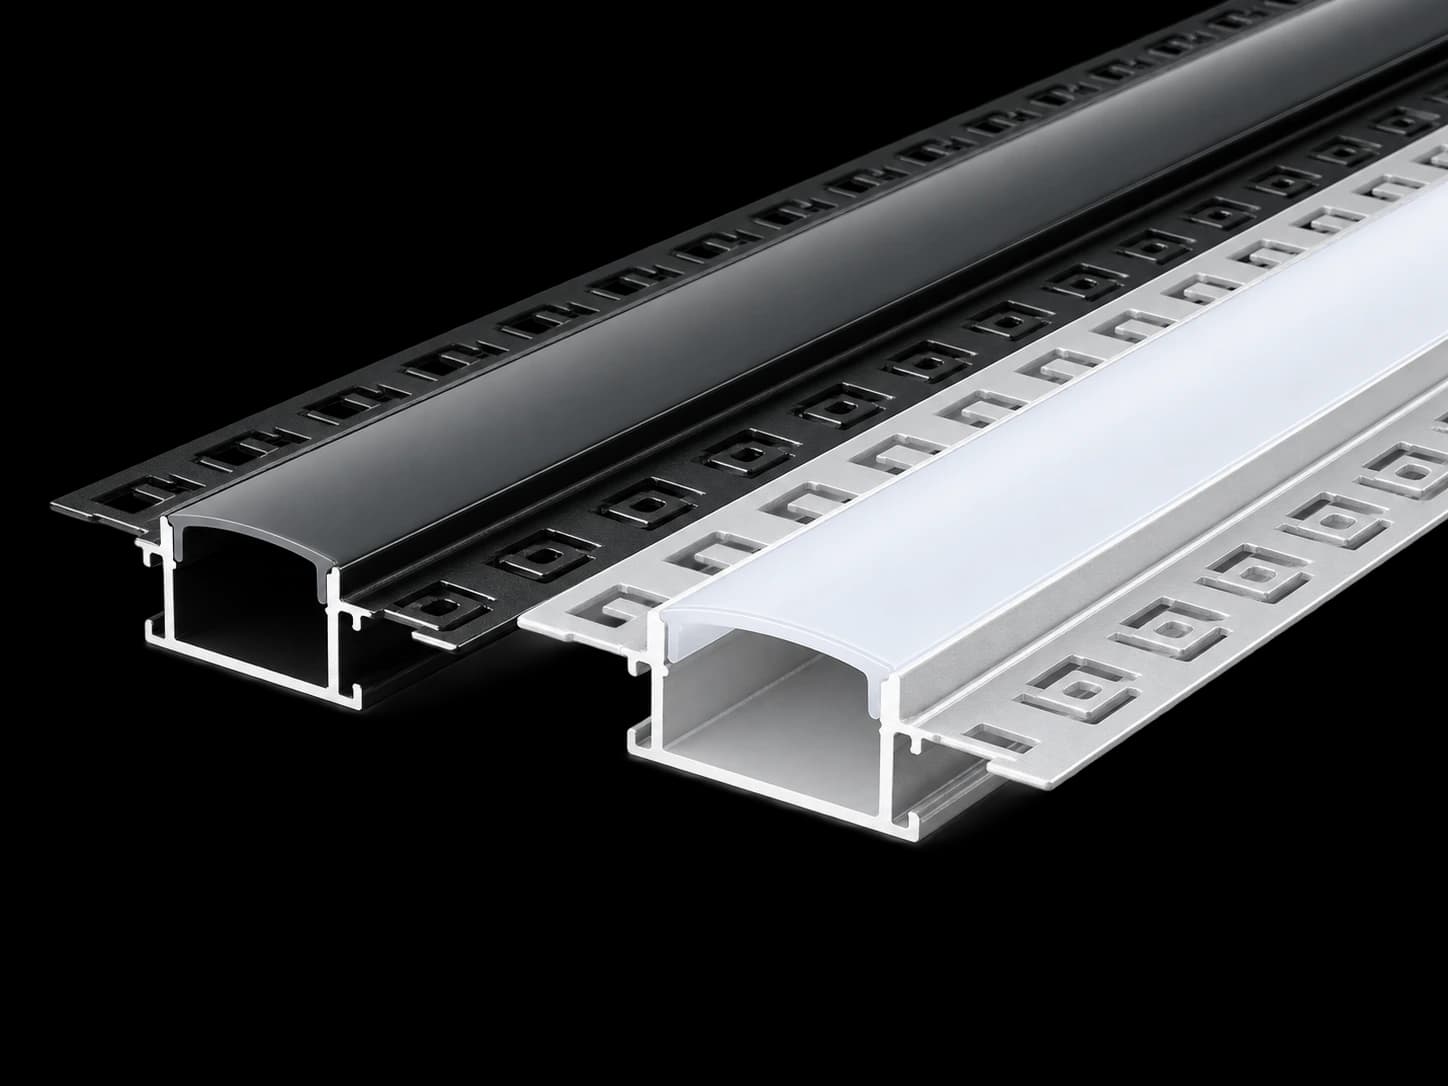
A wider, low-profile channel with perforated wings for a broader line of light.
View Product Details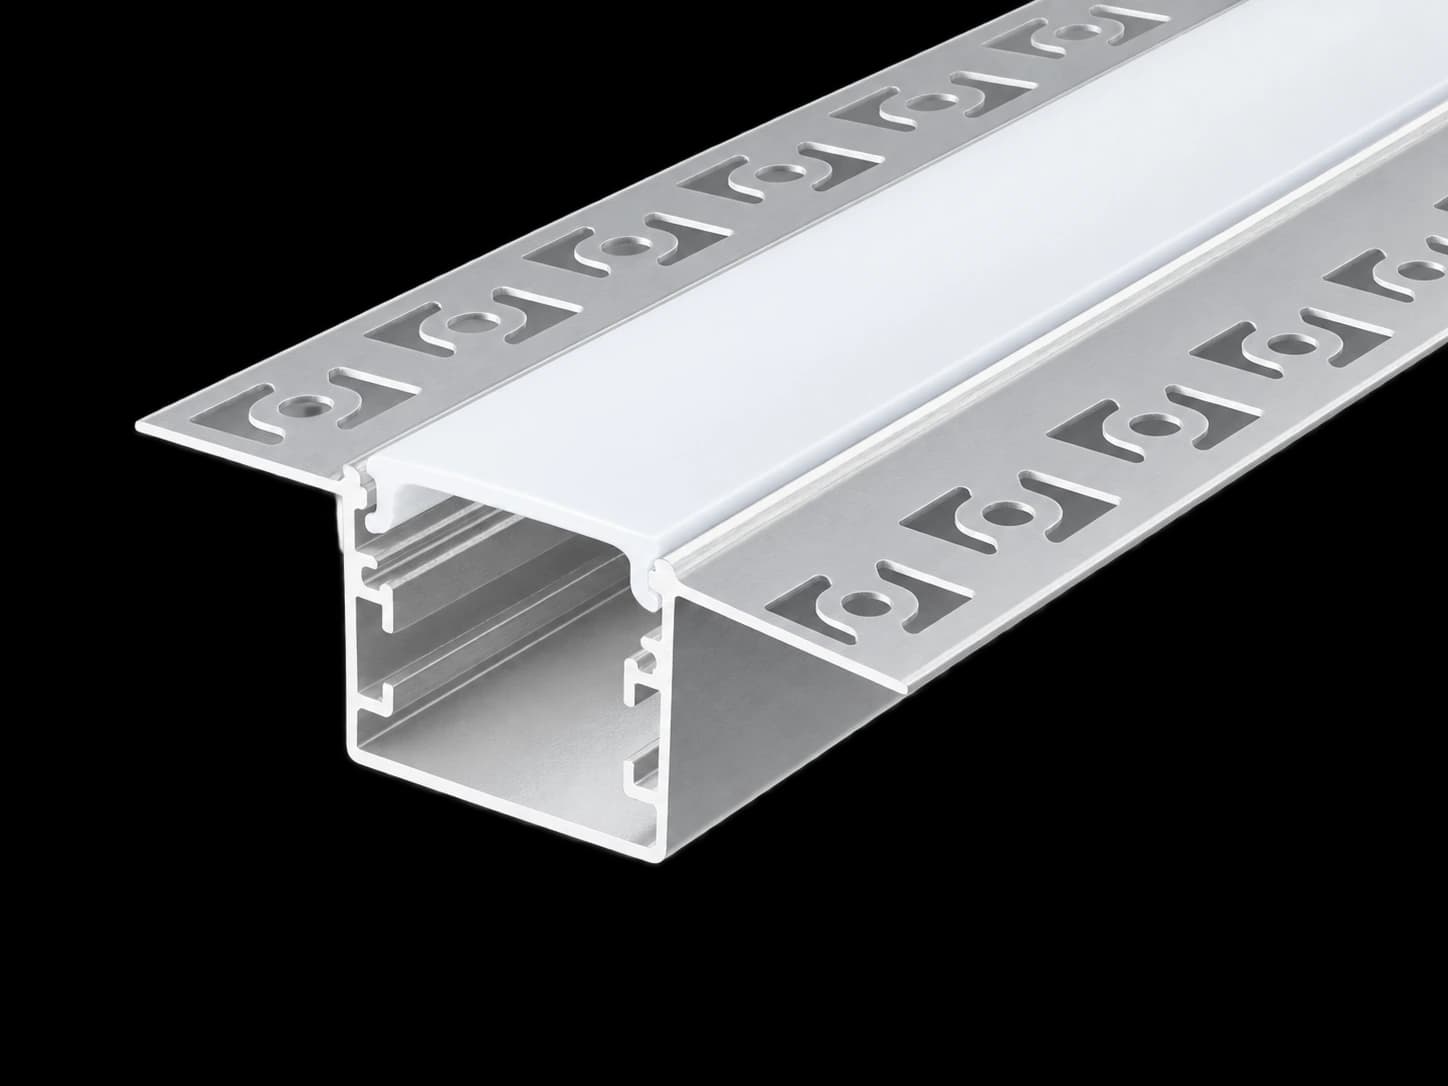
A deeper rectangular section with perforated wings and a broad diffuser for integrated linear lighting.
View Product Details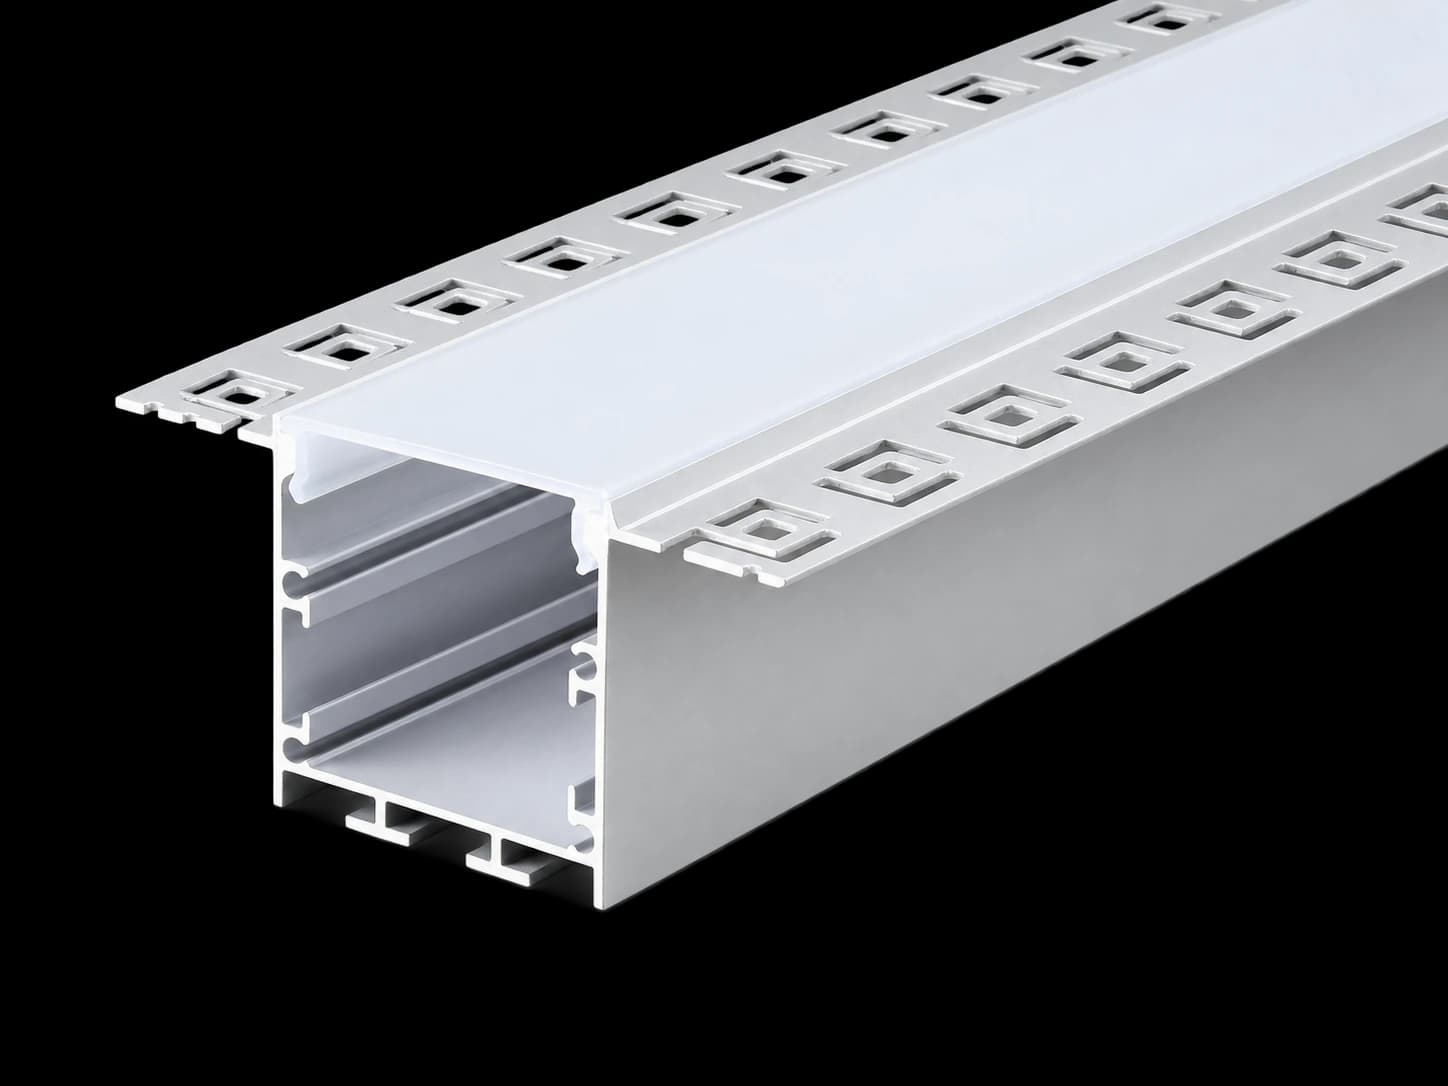
A deep perforated-flange section with a separate lower compartment for an integrated lighting assembly.
View Product Details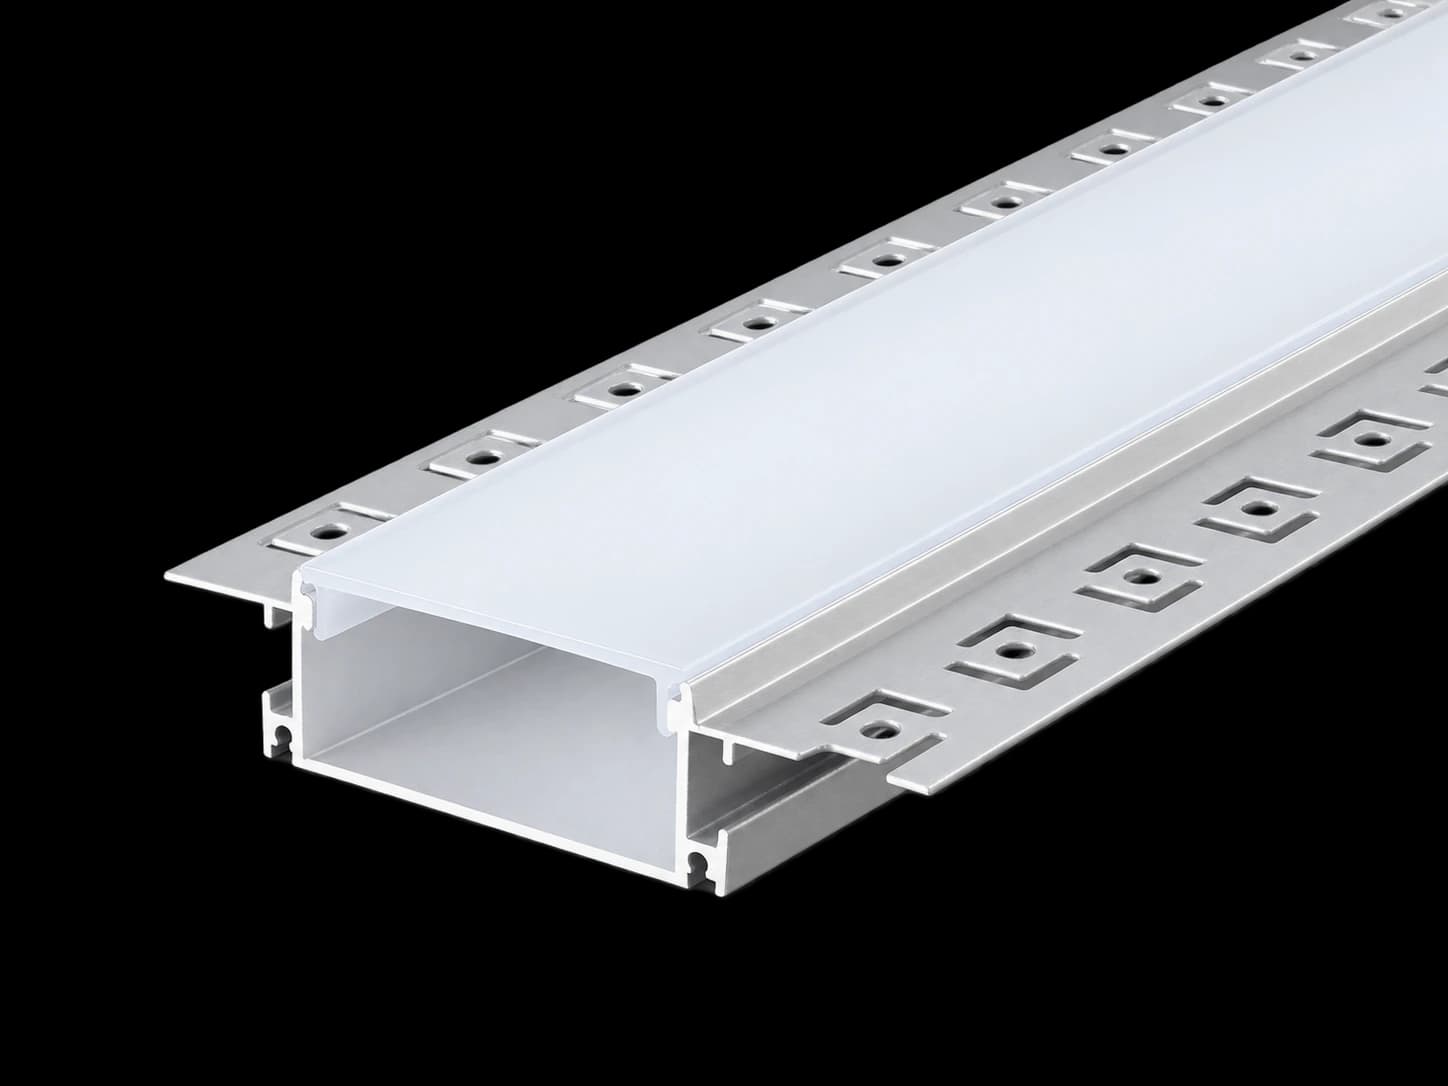
A broad, shallow section with perforated wings for wider integrated lighting lines.
View Product Details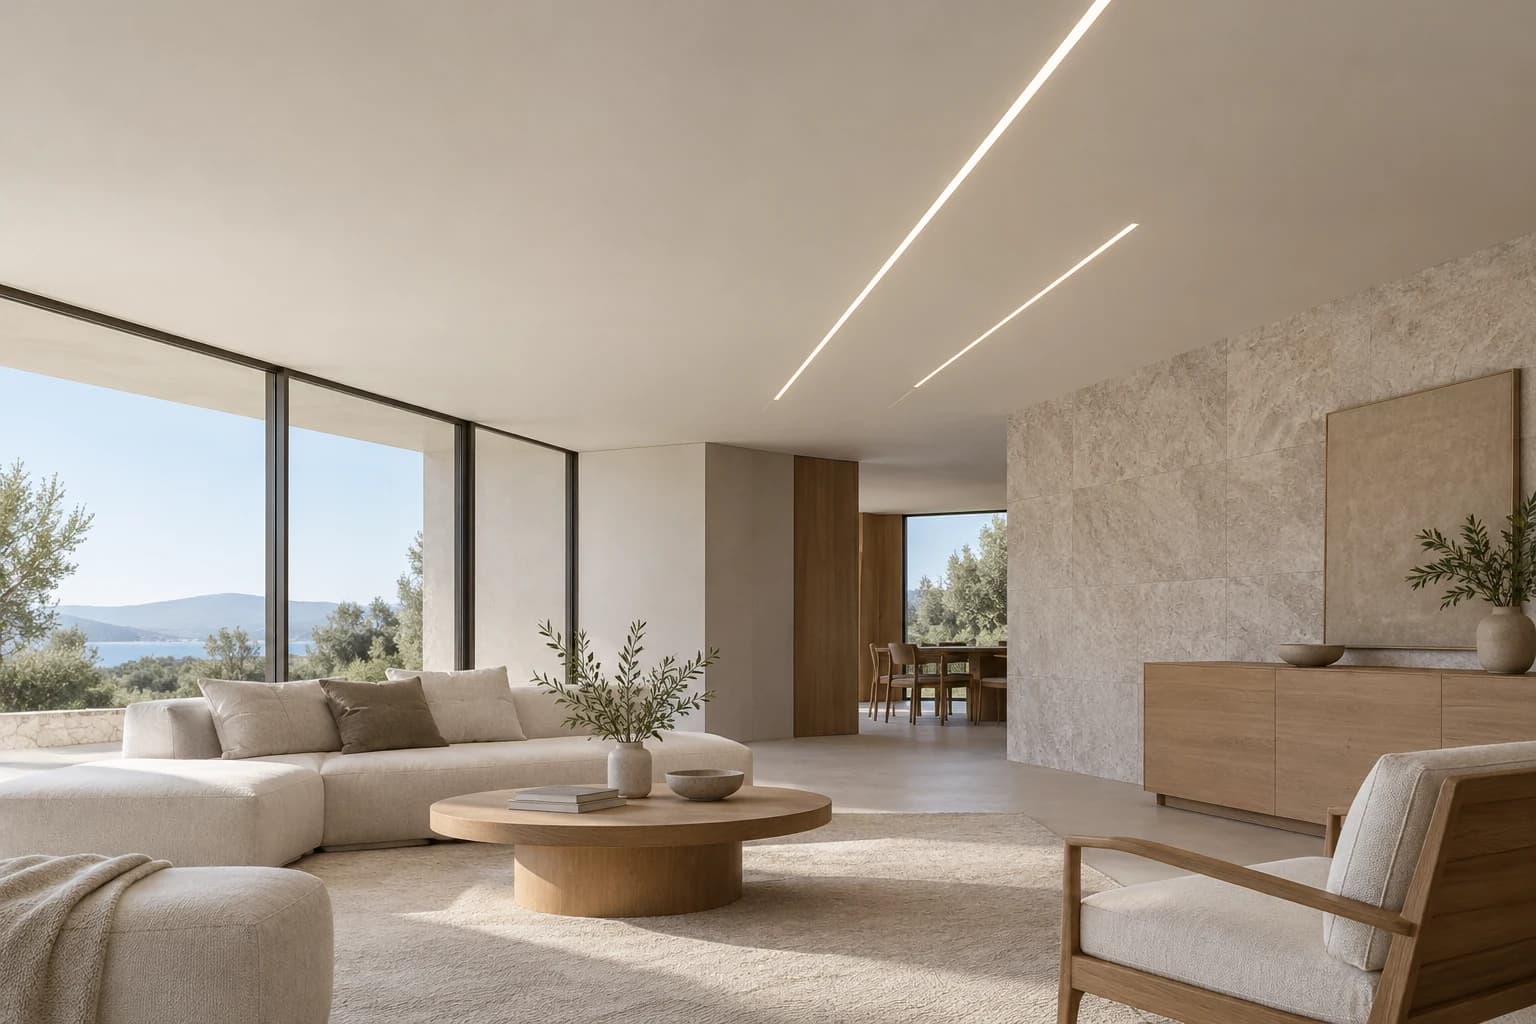
Applications
Develop continuous-looking ceiling lighting around a plaster-in channel. Coordinate the profile and finishing detail before the ceiling is closed. Illustrative application image; selection depends on the model and installation detail.
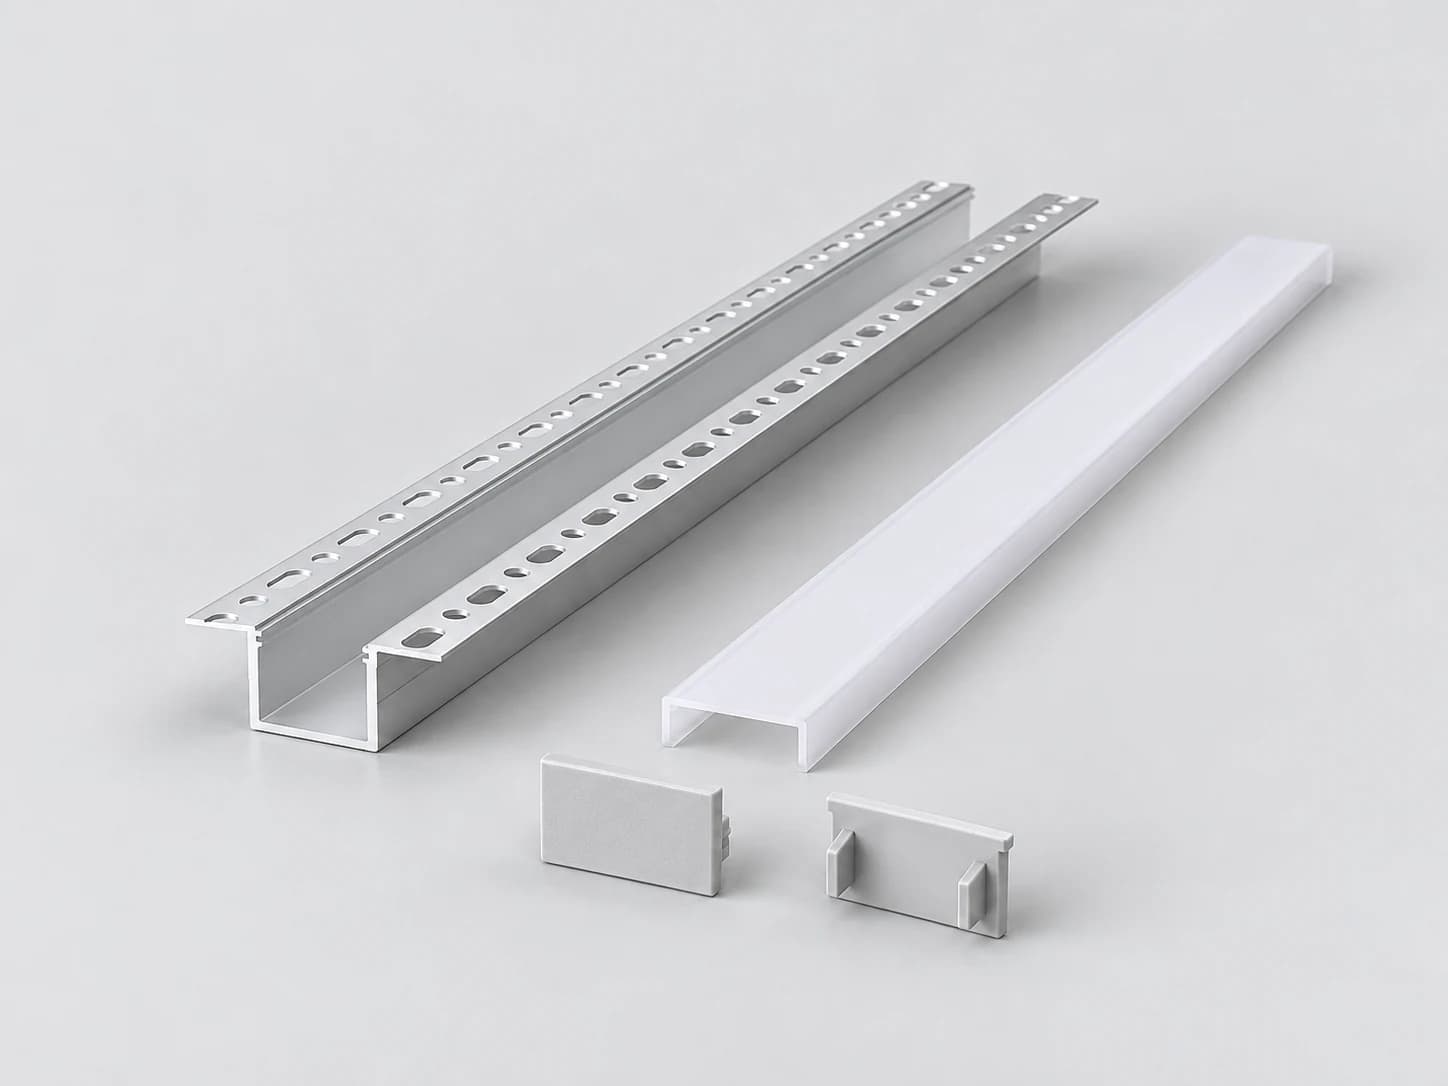
Bring the aluminum channel, diffuser and surrounding board detail together before the finishing work starts.
Matching components and supplied quantities are defined for your selected model in the quotation. The illustration shows a general arrangement.
Looking for curved, angled or stepped architectural sections? Compare our DLP drywall profiles. Select by the actual section and board detail, as trade names can overlap.
Use an agreed installation detail for the board thickness, opening and clearance; flange width is not the cutout width.
Coordinate fixing and surface finishing before fitting the light source and diffuser, following the agreed installation method.
Plan access to the diffuser, light source and driver so maintenance does not depend on removing the surrounding finish.
Board compatibility, fixing spacing and finishing build-up require confirmation for the selected profile and construction.
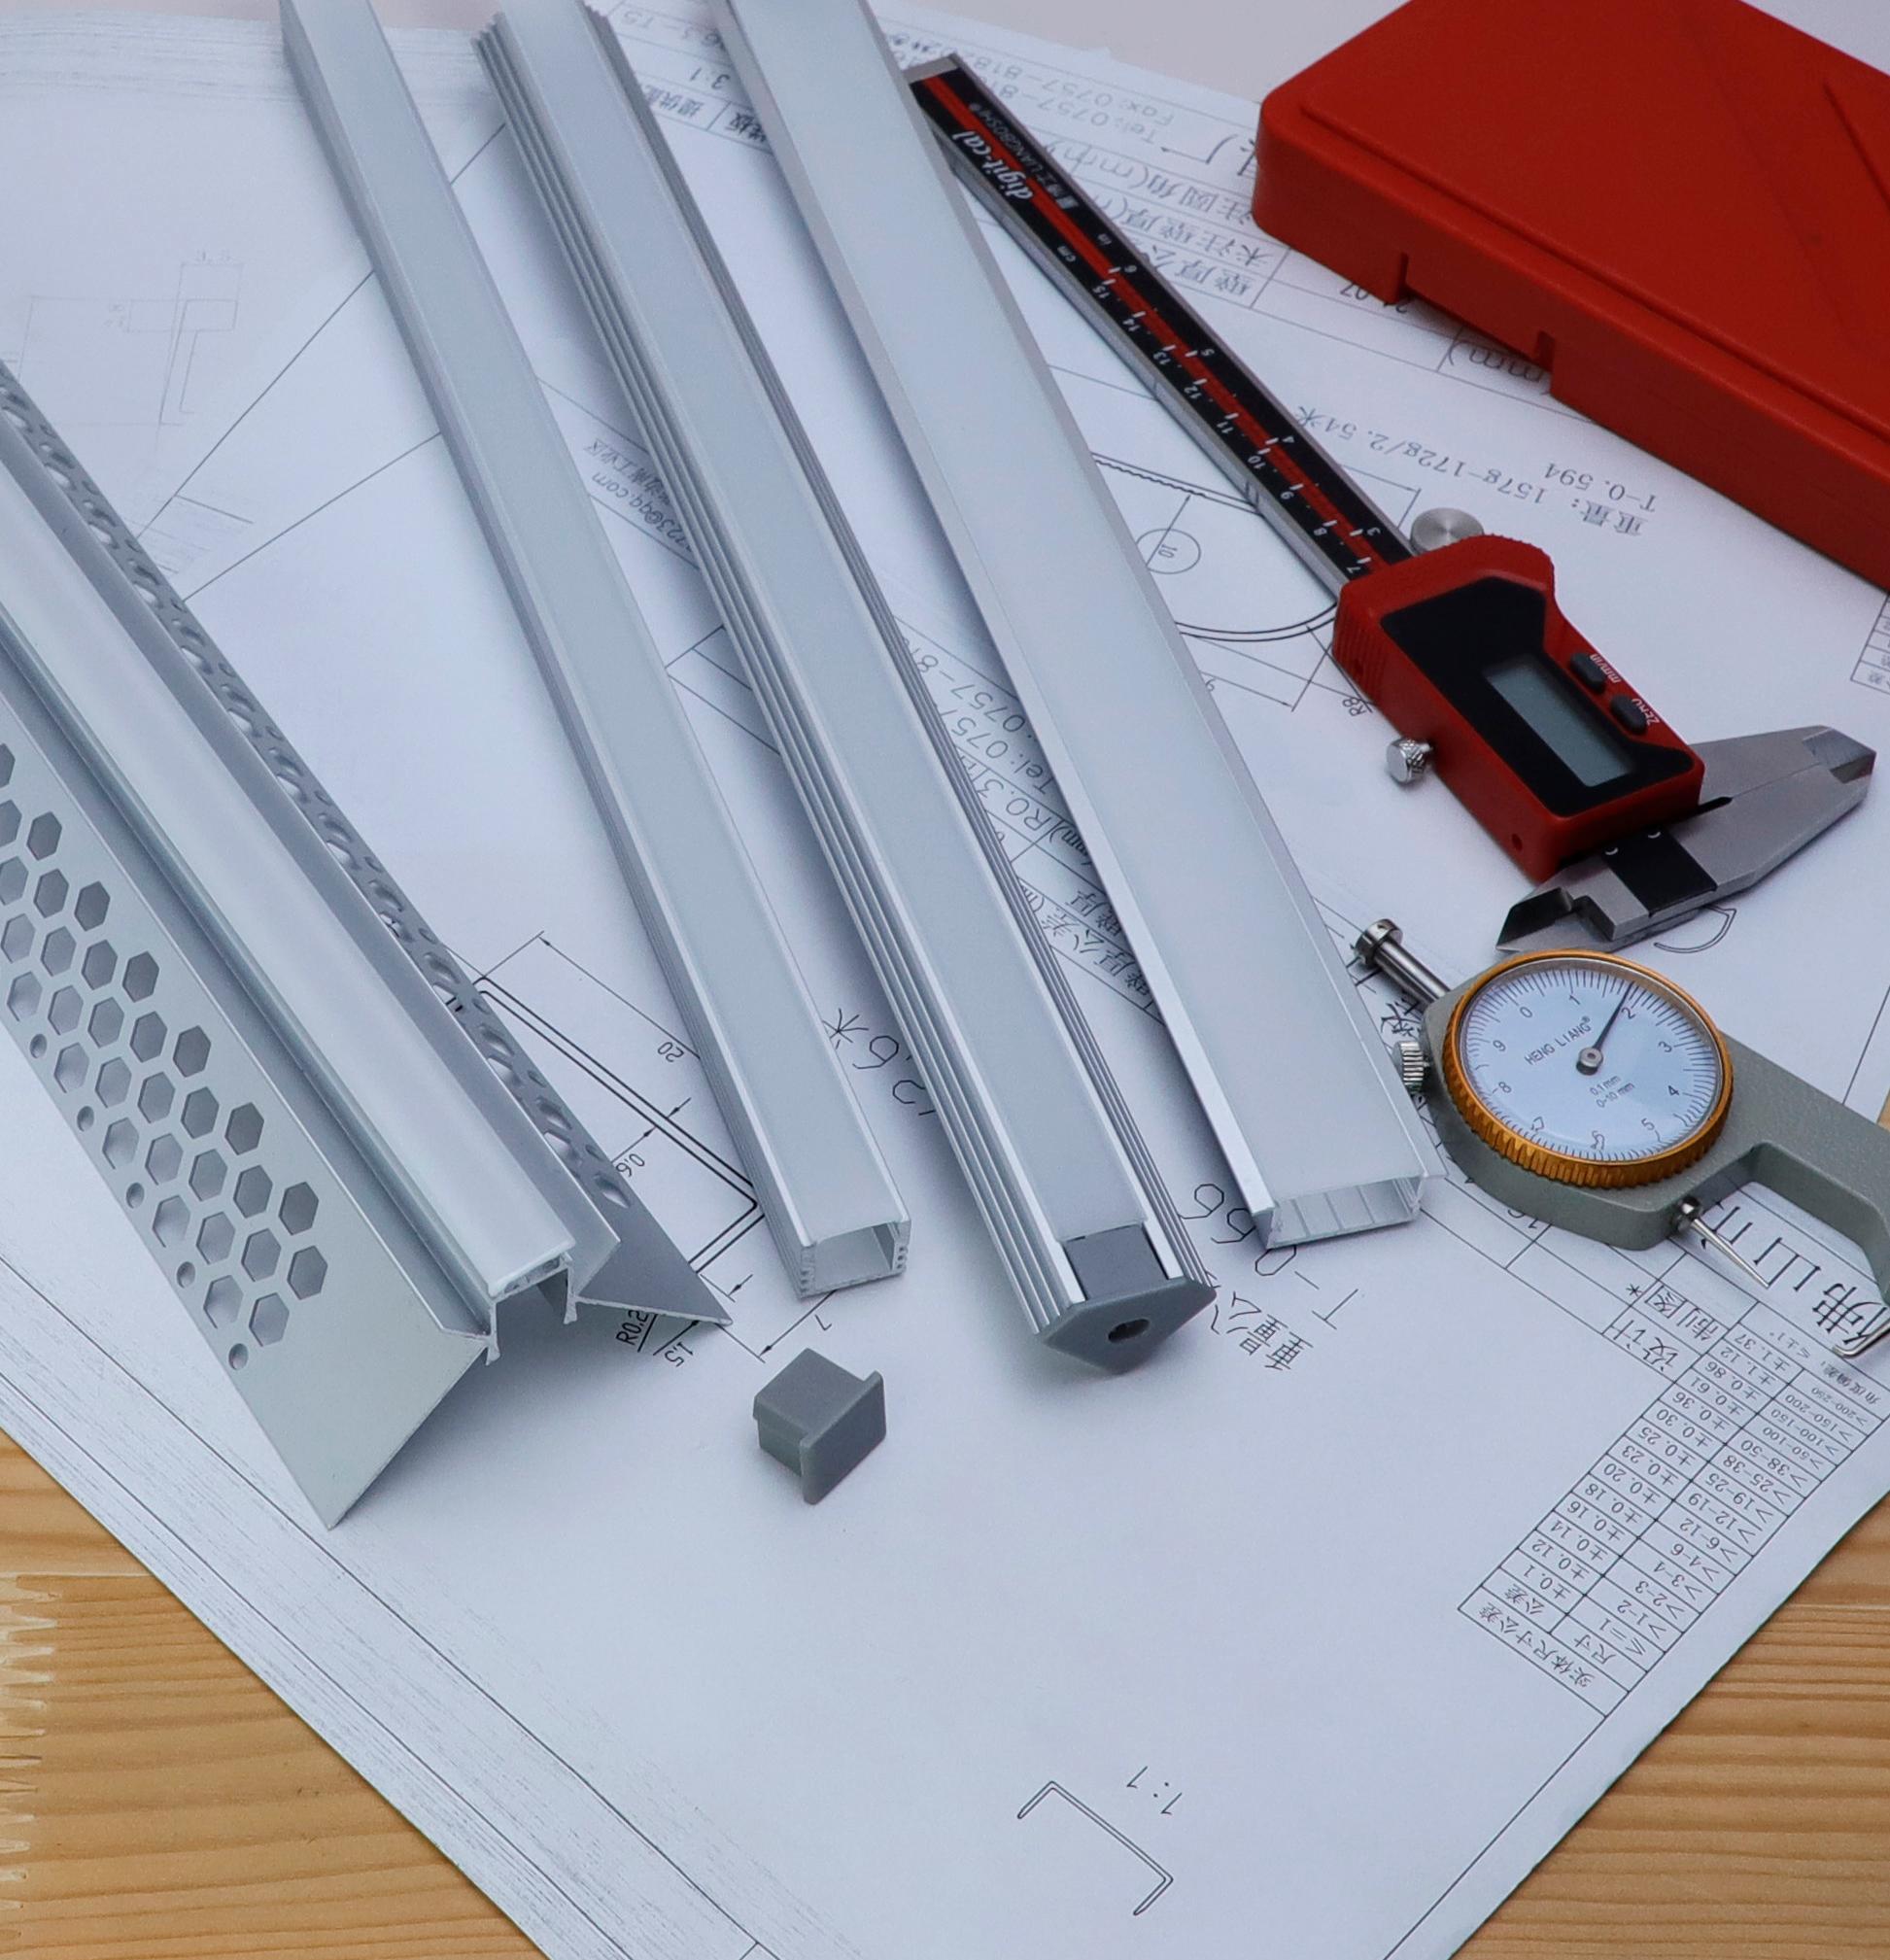
Start with an existing section for length, finish or machining changes. For a different light line or board interface, share your drawing or sample.
Available options depend on the selected section and order requirements.
Explore Custom OptionsShare a model or drawing, LED strip details and the proposed board and finishing arrangement.
Assess the section, diffuser and end pieces with a sample and the intended installation detail.
Use the agreed drawing, finish and component list as the reference for production and repeat orders.
MOQ, sample arrangements and production lead time follow our order policies below.
MOQ: 1,000 pcs per model and per finish. Custom sections have the same MOQ: 1,000 pcs. Samples are free; the customer pays freight. Sample quantity is set per project. Standard samples are usually ready within 7 days. Custom samples are arranged case by case, by agreement. Lead time: 20-30 days for all orders, counted from the date the prepayment is received. Tooling development takes about 7 days. Tooling time is not included in the 20-30 day lead time for custom orders.
It is an aluminum channel with a flange detail intended to be integrated into a finished wall or ceiling. The visible line, board interface and finishing method are planned together; the extrusion alone is not a complete lighting system.
Not always. A general recessed channel can retain a visible flange, while a plaster-in detail incorporates the profile into the surrounding finish. Use a section designed for the intended finishing process rather than assuming any recessed profile can be plastered over.
These depend on the selected section and construction. Share the board thickness and proposed detail so the opening, depth and finishing allowance can be agreed. Overall flange width is not the cutout width, and section height alone does not establish board compatibility.
Use the finishing method agreed for the selected profile and substrate. Perforated wings form part of the installation detail; they do not establish compatibility with every compound or board. Coordinate fixing, any required reinforcement and surface preparation with your installer, keeping the light opening and diffuser interface clear.
Compare the section drawing and catalog LED / PCB reference with your strip, connectors and cable route. The listed figure is a reference, not a maximum compatible width. Assess the proposed cover and assembly with a sample where needed.
Your quotation defines the component references and quantities supplied for the selected model. Product images show model-specific examples, while the assembly illustration is generic. Fixing parts must suit the agreed substrate and installation; they are not assumed to be included.
Share the model or drawing, lengths, finish, quantity and board interface for review. Existing-section changes and new-section development are considered separately. Tooling, sample arrangements, order details are reviewed for the proposed specification.
Share a model, drawing or reference with your strip details, estimated quantity and destination. Tell us about the board, finishing detail and components your lighting product needs.
LED strips, power supplies and controllers are not included unless stated in your quotation.
Chat on WhatsAppinfo@niuyuanledprofile.com