
How to Choose Bendable LED Profiles for Curved Ceilings
Learn how to choose bendable LED profiles for curved ceilings: check the bend radius, match the strip, and keep the light line smooth.
On This Page
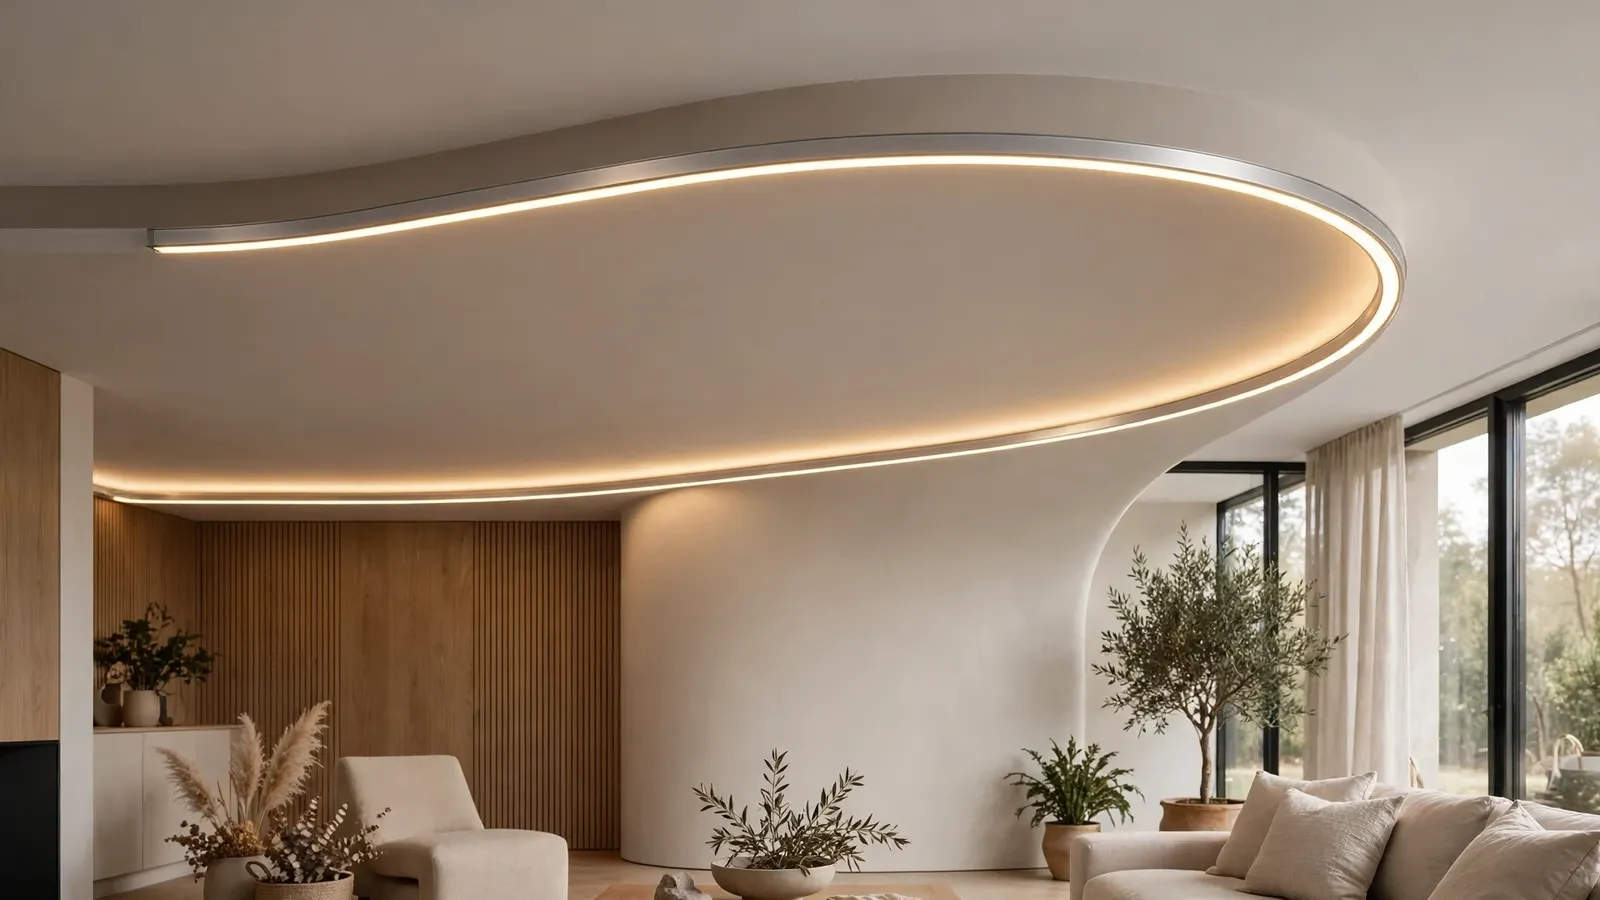
For a curved ceiling, the right bendable LED profile follows the curve without kinking. It holds the strip in place and keeps the light line smooth. Start from the curve itself, not from the catalogue page. A profile that bends well on a gentle arc may fail on a tight one, and the reverse is also true.
This guide works through the five choices that decide the result. They are the bendable structure, the minimum bend radius, the strip and diffuser, the fixing method, and the joints. It ends with a table that matches common curve types to a starting point, plus a checklist to run before you order. Use it to shortlist profiles, then confirm the final choice against the section drawing and a sample bent to your radius.
This guide covers curved ceilings, arches, and rounded drops, and it treats each curve as its own brief. It does not rank profiles against each other, because the right profile depends on the radius, the surface, and the viewing angle. Use it to shortlist, then confirm with a drawing and a bent sample.
01. Bendable or rigid: how the structure differs
A bendable profile is built to curve in a controlled way. Its body uses slots, segments, or a thinner section that lets it follow an arc without cracking or warping. A rigid profile has none of that give, so forcing it around a curve stresses the metal and the diffuser. The two types serve different jobs, and the curve decides which one fits.
Check how the profile is meant to bend before you compare models. Some bendable sections curve in one plane only, while others accept a twist as well. Some are shaped on site to the finished curve, while others arrive pre-formed to a stated radius. Ask which method the section uses, because it changes the install plan and the tools you need.
A bendable section still needs the same basics as a rigid one. It must hold the strip flat, protect it from dust and touch, and spread the heat from the strip into the metal. A section that bends well but holds the strip loosely will show uneven light. Judge the bend and the strip seat together, not the bend alone.
02. Minimum bend radius: how to read it and check it
Every bendable profile has a minimum bend radius, which is the tightest curve it can follow without damage. That figure comes from the supplier for the specific section, and it is the first number to ask for. Do not guess it from the look of the profile, and do not borrow it from a different section. A radius that is safe for one section can crack another.
Measure your curve before you order. Mark the arc on the ceiling or on a template, and find the tightest point along the run. That point sets the requirement for the whole length. A run that is gentle for most of its length still fails if one corner is tighter than the profile allows.
Test the radius with a sample, not with a drawing alone. Bend a short length to your tightest radius and look at the result. Check for kinks in the metal, gaps at the diffuser, and any sign that the strip seat has narrowed. A sample bent to your radius tells you more than a specification sheet on its own.
03. The strip and the diffuser on the bend
The profile and the strip must bend together. A strip has its own minimum bend radius, which may differ from the profile. If the strip cannot follow the curve, it will lift, crease, or break its solder joints. Confirm the strip bend limit with the strip supplier, and take the tighter of the two limits as the limit for the run.
Keep the strip centred in the channel along the whole arc. On a curve, a strip that drifts to one side sits closer to the diffuser edge, and the light turns uneven. Fix the strip in small steps as you work along the curve, and check its position before you fit the diffuser. A centred strip is what keeps the line smooth.
The diffuser decides whether the bend reads as one line or as a chain of bright spots. A frosted or opal diffuser blends the light and hides the strip. A clear cover shows every point on a tight curve. Check the lit sample on your radius, from the angle people will see it. If dots show on the bend, change the diffuser or the strip spacing before you order the full run.
04. Fixing a profile to a curved surface
A curve needs more fixing points than a straight run. Each fixing holds a short length of the arc, so the profile follows the surface instead of bridging across it. Plan the fixing positions along the curve before you start, and agree them with the installer. A profile fixed only at its ends will spring away from the surface in the middle.
Fix gradually along the radius, not all at once. Set one end, then work along the arc, seating each section before you fix the next. This keeps the bend even and stops a kink from forming at a single point. Rushing the fixing is the usual cause of a wavy line on a curved ceiling.
The surface behind the profile matters as much as the profile. A curved ceiling that is itself uneven will push the profile out of line, however well you fix it. Check the surface for flatness along the arc, and correct it before the profile goes on. The bendable LED aluminum profile range is made for these surfaces, but no profile can hide a lumpy ceiling.
05. Cutting, joints, and end caps on a curve
Cut the profile to length with the curve in mind. A length cut for a straight run may not sit right once it is bent, so measure along the arc, not across the chord. Mark the cut on the bent sample, and leave room for the end caps. A short length is easy to waste; a long one is hard to fix.
Place joints where the surface is straightest. A joint on the tightest part of the curve is hard to align, and it will show as a break in the light line. Where a run needs more than one length, plan the joint positions on the drawing, and keep them away from the sharpest bends. Include a representative joint in the sample review when appearance is strict.
End caps and feeds need the same care as the joints. On a curve, a feed cable that pulls at an angle can lift the strip at the end of the run. Plan the feed route so the cable enters without strain, and fit the end caps after the profile is fixed and bent. Confirm the feed route before the ceiling closes, not after.
06. Curve-to-profile starting table
Use this table as a starting point, not a final specification. Each row names a common curved ceiling, the approach that usually suits it, and the detail to watch. Confirm every row against the section drawing and a bent sample before you order.
| Curve | Usual starting point | Detail to watch |
|---|---|---|
| Gentle ceiling arc | Bendable profile, on-site shaping | Tightest point of the arc |
| Rounded ceiling drop | Bendable profile, pre-formed or shaped | Fixing points along the drop |
| Arch or niche | Bendable profile, short lengths | Strip bend limit at the crown |
| Curved cove | Bendable profile with frosted diffuser | Light line seen from below |
| Column or rounded edge | Bendable profile, tight radius check | Diffuser seating on the bend |
When no standard section fits the curve, a custom profile can close the gap. Share the drawing, the radius, and the strip data with the supplier, and agree the section, the finish, and the component list before production. Custom work suits repeat ranges and unusual curves, but it needs the same checks as a standard section.
Two cautions apply to the whole table. First, the tightest radius on the run overrules the usual choice, so treat each row as a prompt for the site check. The general aluminium channel guide covers the shared selection criteria behind this table. Second, the diffuser and the viewing position matter as much as the bend. Judge the lit sample on your radius, from the real position.
07. Selection checklist
Run through this list with your curve notes, your strip data, and your section drawing in hand. Every item should have an answer before the order goes out. Any item without an answer is a question for the supplier or the installer.
- Curve radius measured, tightest point noted
- Profile minimum bend radius confirmed for this section
- Strip bend limit checked against the profile limit
- Bent sample checked for kinks and diffuser gaps
- Diffuser chosen for a smooth line on the bend
- Fixing positions planned along the whole arc
- Joint positions placed on the straightest parts
- Feed route and end caps planned without strain
With the curve notes, the strip data, and this checklist, you can compare profiles on bend, light quality, and fixing. That beats guessing from catalogue photos. That comparison is what keeps a curved ceiling detail from turning into rework. Keep the notes and the drawing with the order, so a later reorder starts from the same facts.
Frequently asked questions
Can a rigid LED profile be bent to fit a curved ceiling?
No, a rigid profile should not be forced around a curve. It can crack, warp, or leave the diffuser unseated. Use a bendable section made for the radius, and confirm its minimum bend radius first.
How do I find the minimum bend radius I need?
Measure the tightest point of your curve, then ask the supplier for the minimum bend radius of the specific section. Test a bent sample at that radius before you order the full run.
Does the LED strip also have a bend limit?
Yes. The strip has its own minimum bend radius, which may differ from the profile. Take the tighter of the two limits as the limit for the run, and keep the strip centred in the channel.
Why does the light look uneven on the bend?
Uneven light on a bend usually comes from the strip drifting off centre, or from a clear diffuser showing each LED point. A frosted diffuser and a centred strip usually fix it, so check the lit sample on your radius.
Where should joints go on a curved run?
Place joints where the surface is straightest, away from the tightest part of the curve. A joint on a tight bend is hard to align and shows as a break in the light line.

Share this guide
Tell us what you need
Send Your Project Requirements
Share your contact details and tell us which LED profiles you need.
Explore custom profile options