
How to Choose LED Profiles for Office and Commercial Lighting
Learn how to choose LED profiles for offices and shops: match the mounting style to the ceiling, control glare, and plan long runs and service access.
On This Page
For an office or a shop, the right LED profile is the one that fits the ceiling, the work, and the viewing angle. Start from the room and the task, not from the catalogue page. A profile that suits an open-plan office may fail in a retail display, and the reverse is also true.
This guide works through the five choices that decide the result: mounting style, light direction, glare control, long runs, and service access. It ends with a table that matches common commercial spaces to a starting point, plus a checklist to run before you order. Use it to shortlist profiles, then confirm the final choice against the section drawing and a sample.
This guide covers offices, shops, and hospitality spaces, and it treats each room as its own brief. It does not rank profiles against each other, because the right profile depends on the ceiling, the task, and the viewing angle. Use it to shortlist, then confirm with a drawing and a sample.
01. Start from the room, not the catalogue
Offices and shops ask different things from the same light line. An office needs even light over desks, with little glare on screens. A shop needs light that makes goods read well, with accents that draw the eye. A hotel corridor needs a calm, continuous line that guides people without glare. The profile must serve the task in the room, not just the look of the fitting.
Write down the task for each run before you compare profiles. Note where people sit or stand, where they look, and which surfaces must stay free of glare. Note the ceiling type, the run length, and the driver position. These notes turn a vague brief into a short list. They also stop the team from choosing a profile that fits the budget but fails the room.
A single project often needs more than one profile type. The open office may use suspended lines over desks, while the meeting rooms use recessed lines in a finished ceiling. The shopfront may mix a bright display line with a soft cove line. Plan each zone on its own terms, and do not force one profile across rooms with different tasks.
02. Suspended or recessed: match the ceiling
The ceiling often decides the mounting style before any other factor. An open ceiling with visible structure suits suspended profiles, which hang below the ceiling on wires or rods. A finished ceiling with a flat surface suits recessed profiles, which sit inside a prepared groove. Check the ceiling first, because a style that cannot be fixed as planned is not an option, however good it looks.
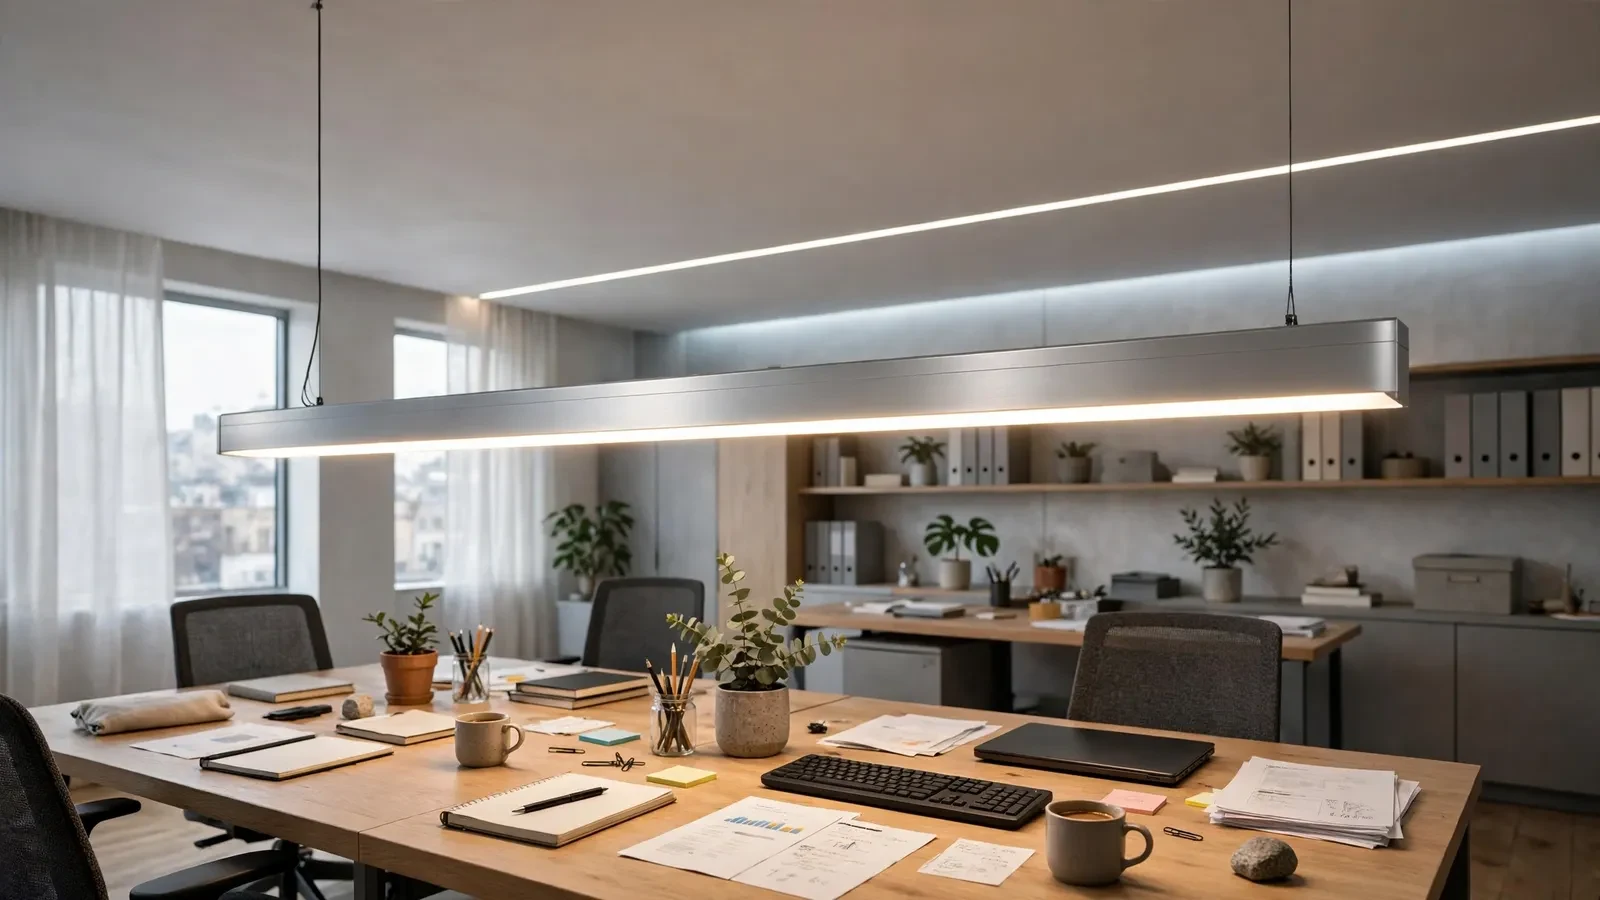
Suspended lines define work zones in open rooms without building walls. They suit desks, benches, and retail islands, where the line itself organizes the space. Plan the drop height, the fixing points, and the cable route together. The suspended profile buyers guide covers these points in detail, and it is worth reading before you fix suspension points or order cut lengths.
Recessed lines suit finished ceilings where only a slim line of light should show. They need a groove of the right width and depth, plus room for cables and service access. A flanged section hides the cut edge, while the diffuser forms the visible line. Confirm the groove size from the section drawing, not from the outside width, because flanges add width that is not groove width.
03. Glare and visual comfort
Glare is the fastest way to ruin an office lighting scheme. A bright line at eye level forces people to look away, and screens pick up reflections from harsh sources. The diffuser and the channel depth are the two tools that control this. A frosted or opal diffuser softens the light, while a deeper channel gives the light room to blend before it leaves the cover.
Viewing angle matters as much as brightness. A line that looks fine from below can glare when seen from a desk across the room. Check samples at the height and angle where people will actually see the line. In retail, the same check applies to customers looking along a display, where a harsh line distracts from the goods.
Do not chase brightness alone in offices. A very bright line with a clear cover often reads as harsh, even when the total light is adequate. A softer diffuser with a deeper channel usually reads as better light, because the eye sees an even line instead of bright points. Judge the sample lit, from the real viewing position, before you approve the combination.
04. Light direction and work surfaces
Offices usually need downward light over desks and meeting tables. The profile should aim the light where the work happens, with enough spread to avoid dark patches between lines. In retail, the same downward light serves display tables, while a wall-washing angle suits shelves and feature walls. Decide the direction per zone, not per project.
Uplight has a place in commercial rooms, but only when the design calls for it. A suspended line that throws light upward softens a high ceiling and lifts the room. That effect needs a profile built for the arrangement, with the strip and cover placed to suit it. Do not assume a downlight profile can serve as an uplight simply because it hangs from the ceiling.
Task areas and circulation areas deserve different treatment. Desks, counters, and till points need steady, even light that supports close work. Corridors, lobbies, and waiting areas need a calm line that guides movement without competing for attention. Mixing the two without a plan gives a scheme that feels uneven, even when every fitting works on its own.
05. Long runs, joints, and service access
Commercial rooms often need long, continuous lines, and joints decide whether the line reads as one piece. Plan where each section ends, where each joint falls, and how the diffuser joints sit against the aluminum joints. A joint placed at a suspension point hides better than one left floating mid-span. Include a representative joint in the sample review when appearance is strict.
Service access is easy to forget and costly to add later. Ask how a diffuser, a strip, or a driver can be reached and replaced without damaging the ceiling or the furniture below. A recessed line in a finished ceiling needs an access plan, and a suspended line needs a safe way to lower or reach it. Confirm the access route before the ceiling closes, not after.
Power feeds and drivers belong in the same plan as the profiles. Note where each run is fed from, where the driver sits, and how the cable reaches the profile. A feed that crosses a walkway or a display looks unfinished, and a driver buried without access turns a simple swap into a ceiling repair. Keep the feed, the driver, and the access route on one drawing.
06. Space-to-profile starting table
Use this table as a starting point, not a final specification. Each row names a common commercial space, the mounting style that usually suits it, and the detail to watch. Confirm every row against the section drawing and a sample before you order.
| Space | Usual starting point | Detail to watch |
|---|---|---|
| Open-plan office | Suspended | Drop height and glare at desks |
| Meeting room | Recessed | Groove size and service access |
| Retail display | Suspended or surface | Light direction on goods |
| Hotel corridor | Recessed | Continuous line and joint positions |
| Reception | Suspended | Visual line from the entrance |
When no standard section fits the room, a custom profile can close the gap. Share the drawing, the ceiling detail, and the strip data with the supplier, and agree the section, the finish, and the component list before production. Custom work suits repeat ranges and unusual ceilings, but it needs the same checks as a standard section.
Two cautions apply to the whole table. First, the ceiling and the task can overrule the usual choice, so treat each row as a prompt for the site check. Second, the diffuser and the viewing position matter as much as the mounting style, so judge the lit sample from the real position.
07. Selection checklist
Run through this list with your room notes, your strip data, and your section drawing in hand. Every item should have an answer before the order goes out. Any item without an answer is a question for the supplier or the installer.
- Room task and viewing positions noted per zone
- Ceiling type and fixing options confirmed
- Mounting style matched to the ceiling
- Diffuser chosen for glare and viewing angle
- Light direction set per zone
- Joint positions and diffuser lengths planned
- Driver position and service access agreed
- Lit sample checked from the real viewing position
With the room notes, the strip data, and this checklist, you can compare profiles on fit, glare, and service instead of guessing from catalogue photos. That comparison is what keeps a commercial lighting detail from turning into rework. Keep the notes and the drawing with the order, so a later reorder starts from the same facts.
Frequently asked questions
Should an open-plan office use suspended or recessed profiles?
Suspended lines usually suit open ceilings, because they define work zones without building walls. Recessed lines suit finished ceilings, where only a slim line should show. The ceiling type and the task decide, not the catalogue order.
How do I reduce glare over desks?
Use a frosted or opal diffuser with a deeper channel, and check the lit sample from desk height. Keep bright lines out of the direct view from seated positions. A softer, even line usually reads as better light than a harsh bright one.
Can one profile serve both a shop and an office?
Sometimes, but the brief should still be written per zone. A profile that suits a shop display may glare over office desks, and the reverse is also true. Compare the profile against each zone's task before you standardize on one section.
What should I confirm before ordering for a long run?
Confirm the joint positions, the diffuser lengths, the end caps, and the driver access. Check that the feed route and the suspension points are on the same drawing. A long line fails on small parts more often than on the profile itself.
Do I need a sample before a bulk order?
Yes, for any commercial run where appearance matters. Check the lit sample with your strip, from the real viewing position, with the diffuser you plan to use. A catalogue photo cannot show glare, dots, or joint quality.

Share this guide
Tell us what you need
Send Your Project Requirements
Share your contact details and tell us which LED profiles you need.
Explore custom profile options