
How to Choose Plaster-in (Trimless) LED Profiles Without Cracking
Learn how to choose plaster-in LED profiles that stay trimless: fix into solid support, tape the flange, and plaster in thin, dry coats.
On This Page
For a trimless ceiling, the right plaster-in LED profile is the one that disappears into the plaster and stays invisible. Start from the ceiling build-up, not from the catalogue page. A profile that suits a new drywall ceiling may fail in a retrofit, and the reverse is also true.
This guide works through the five choices that decide the result. They are the flange and mesh, the substrate, the plastering sequence, the joint positions, and the diffuser. It ends with a table that matches common ceiling situations to a starting point, plus a checklist to run before you order. Use it to shortlist profiles, then confirm the final choice against the section drawing and a finished sample.
This guide covers plaster-in, or trimless, profiles in drywall ceilings and walls, and it treats crack prevention as a selection issue. It does not cover repairs to profiles that have already cracked, because that is a separate troubleshooting job. Use it to choose well, then confirm with a drawing and a sample.
01. What a plaster-in profile is, and where it suits
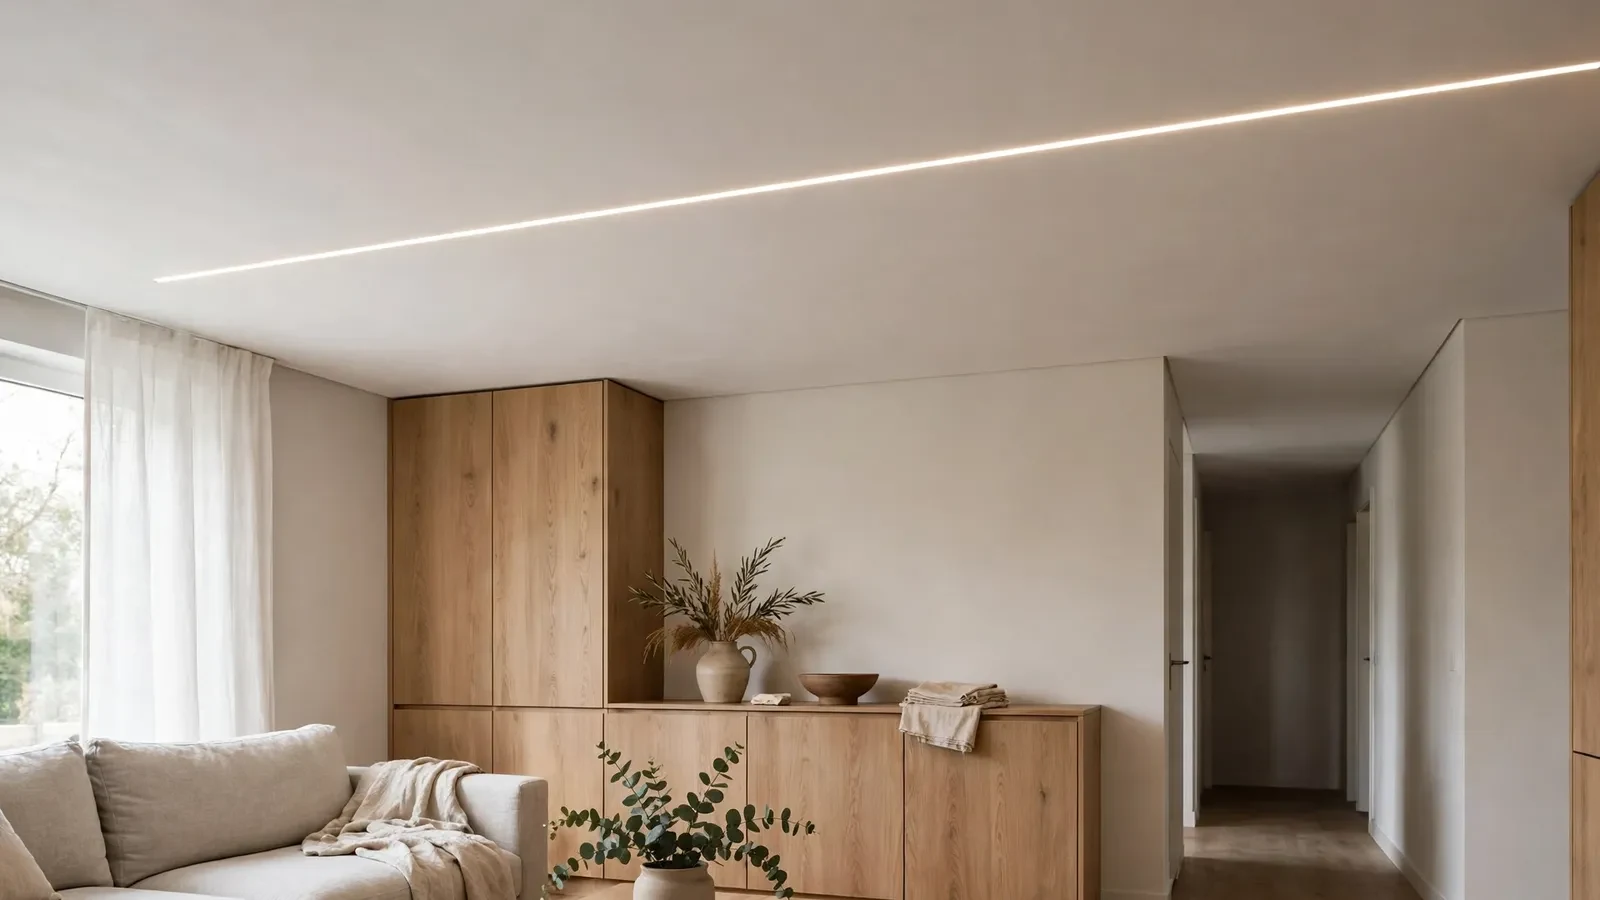
A plaster-in profile sits inside the drywall, with perforated wings that are covered by joint compound and paint. Once finished, the metal frame vanishes, and only the diffuser line shows. The effect is a clean slot of light with no visible trim, which suits modern ceilings, corridors, and feature walls.
The profile needs a ceiling that can take it. A new drywall ceiling with planned framing suits it well. The slot, the blocking, and the wiring can be set before the boards go up. A retrofit can work too, but it needs access to add support behind the board. Check the ceiling build-up first, because a profile fixed to board alone is not a sound base.
Plaster-in work is a team job, not a single-trade job. Framing, wiring, drywall, and finishing all touch the same line, and the order matters. The plaster-in LED profiles range is made for this sequence, but the sequence still has to be planned. Agree who does each step before the ceiling closes.
02. Why plaster-in lines crack
Cracks usually start where two materials meet and move differently. The aluminum profile, the drywall board, and the plaster layer all expand and shift at their own rates. If the joint between them is rigid and thin, the movement shows as a hairline crack along the flange edge. The crack is a movement problem first, and a plaster problem second.
A weak substrate makes cracking more likely. Framing that flexes will let the profile move. So will an unsupported board edge, or a slot cut wider than the section needs. Movement at the profile edge breaks the plaster bond over time, even when the finish looked perfect on day one. Fix the support before you blame the plaster.
A plaster layer that is too thick, too thin, or rushed will also fail. A thick coat shrinks as it dries and pulls away from the flange, while a thin coat leaves the perforations showing through. Each coat needs to dry before the next goes on. The finish is only as good as the drying time it was given.
03. Flange and mesh: what to choose
The flange is the part that bonds the profile to the ceiling. Perforations in the wing give the compound a key to grip, and mesh tape over the joint spreads the load across the seam. A flange without a proper key, or a joint without tape, leaves a weak line that will show. Check the flange design on the section drawing before you order.
Match the flange to the board and the finish. A wide wing suits a finish that needs a long feathered blend, while a narrow wing suits a thin skim. Ask the supplier which flange widths the section offers, and which finish each one is made for. The wrong wing makes the plastering harder, not easier.
Fix the profile through the flange into solid support, not into board alone. Screws through the perforations should land in framing or blocking behind the board. A fixing that grips only the board will work loose as the ceiling moves, and the crack will follow. Confirm the support behind every fixing on the drawing, not on site by guesswork.
04. Plastering and finishing in the right order
Fit the strip and the diffuser last, after the plastering and painting are done. Dust, compound, and paint will mark a diffuser that is fitted early, and a strip fitted early can be damaged by sanding. Keep the channel protected while the finishers work, and fit the light only when the ceiling is clean and dry.
Apply the compound in thin coats, feathered well out from the flange. Each coat should cover the perforations and blend into the board without a step. Sand lightly between coats, and only enough to remove high spots. A heavy sanding pass can cut through to the metal and leave a line that paint cannot hide.
Let each coat dry fully before the next step. A coat that looks dry on the surface can still be damp underneath, and painting over it traps the moisture. The trimless plaster-in guide for drywall ceilings and walls covers the flange, mudding, and service access in detail. Read it before the finishers start. Rushing the drying is the most common cause of a finish that cracks in its first season.
05. Joints, movement, and the diffuser
Long runs need joints, and joints need a plan. A joint placed where the ceiling changes direction is easier to hide. The same holds where two boards meet. A joint left mid-span is the hardest to hide. Plan the joint positions with the framing layout, so each joint lands on support. A joint floating between supports will move, and the plaster will crack there first.
Allow for movement at the ends of long runs. A run that is fixed tight at both ends has nowhere to go as the ceiling shifts with the seasons. Leave the movement detail to the section drawing, and ask the supplier how the section handles it. A small gap at the right place is better than a crack in the wrong one.
The diffuser affects the finished look as much as the plaster. A frosted diffuser gives an even line and hides the strip, while a clear cover shows every point and every flaw in the channel. Choose the diffuser with the ceiling finish in mind, and check the lit sample after painting. The diffuser is the only part of the profile that stays visible, so judge it lit.
06. Ceiling-to-profile starting table
Use this table as a starting point, not a final specification. Each row names a common ceiling situation, the approach that usually suits it, and the detail to watch. Confirm every row against the section drawing and a finished sample before you order.
| Ceiling situation | Usual starting point | Detail to watch |
|---|---|---|
| New drywall ceiling | Plaster-in, planned framing | Blocking behind every fixing |
| Retrofit ceiling | Plaster-in, added support first | Access to add blocking |
| Long corridor run | Plaster-in, planned joints | Joint positions on framing |
| Feature wall line | Plaster-in, frosted diffuser | Even line seen at close range |
| Ceiling with services above | Plaster-in, service access planned | Driver and feed access |
When no standard section fits the ceiling, a custom profile can close the gap. Share the drawing, the board build-up, and the strip data with the supplier. Agree the section, the finish, and the component list before production. Custom work suits repeat ranges and unusual ceilings, but it needs the same checks as a standard section.
Two cautions apply to the whole table. First, the substrate and the support can overrule the usual choice, so treat each row as a prompt for the site check. Second, the drying time matters as much as the profile, so judge the finished sample only after it has fully dried and been painted.
07. Selection checklist
Run through this list with your ceiling notes, your strip data, and your section drawing in hand. Every item should have an answer before the order goes out. Any item without an answer is a question for the supplier or the installer.
- Ceiling build-up and board type confirmed
- Framing and blocking behind every fixing
- Flange and mesh matched to the finish
- Slot size confirmed from the section drawing
- Plastering sequence and drying time agreed
- Joint positions planned on framing
- Strip and diffuser fitted after painting
- Finished sample checked after full drying
With the ceiling notes, the strip data, and this checklist, you can compare profiles on support, flange, and finish. That beats guessing from catalogue photos. That comparison is what keeps a trimless ceiling detail from turning into rework. Keep the notes and the drawing with the order, so a later reorder starts from the same facts.
Frequently asked questions
What is a plaster-in LED profile?
It is an aluminum profile with perforated wings that are covered by joint compound and paint, so only the diffuser line shows. The finished ceiling looks trimless, with a clean slot of light and no visible frame.
Why do plaster-in profiles crack?
Cracks usually come from movement between the profile, the board, and the plaster, or from weak support behind the fixing. A rigid joint over a moving substrate will crack, however good the plaster looks on day one.
How do I stop the flange edge from cracking?
Fix the profile into solid framing or blocking, use mesh tape over the joint, and apply the compound in thin coats with full drying time. Each step spreads the load and lets the joint move without breaking.
When should the LED strip and diffuser go in?
Fit them last, after plastering, sanding, and painting are finished and dry. Fitting them early risks dust, paint, and sanding damage that cannot be cleaned off the diffuser.
Can I use a plaster-in profile in a retrofit ceiling?
Yes, if you can add support behind the board first. The profile must fix into framing or blocking, not into board alone, so check access before you order.

Share this guide
Tell us what you need
Send Your Project Requirements
Share your contact details and tell us which LED profiles you need.
Explore custom profile options