
How to Choose LED Profiles for Kitchen Cabinet Lighting
Choose LED profiles for kitchen cabinets by position, strip width, diffuser and driver size, with a selection table and installation checklist for buyers.
On This Page
Kitchen cabinet lighting fails in predictable ways. The strip is too dim at the far end. The countertop shows a row of bright dots. Or the driver ends up sealed where no one can reach it. Most of these problems are selection problems, not product problems, and they are decided before anything is ordered.
Start with three decisions, in this order: first, choose the lighting position. Use the wall cabinet underside for task light, the cabinet interior for contents, or the toe-kick for a soft floor glow. Second, match the profile to that position and to your strip width. Third, pick the diffuser for your countertop finish and size the driver with headroom. Get these three right, and the rest is detail.
Start with the position, not the profile
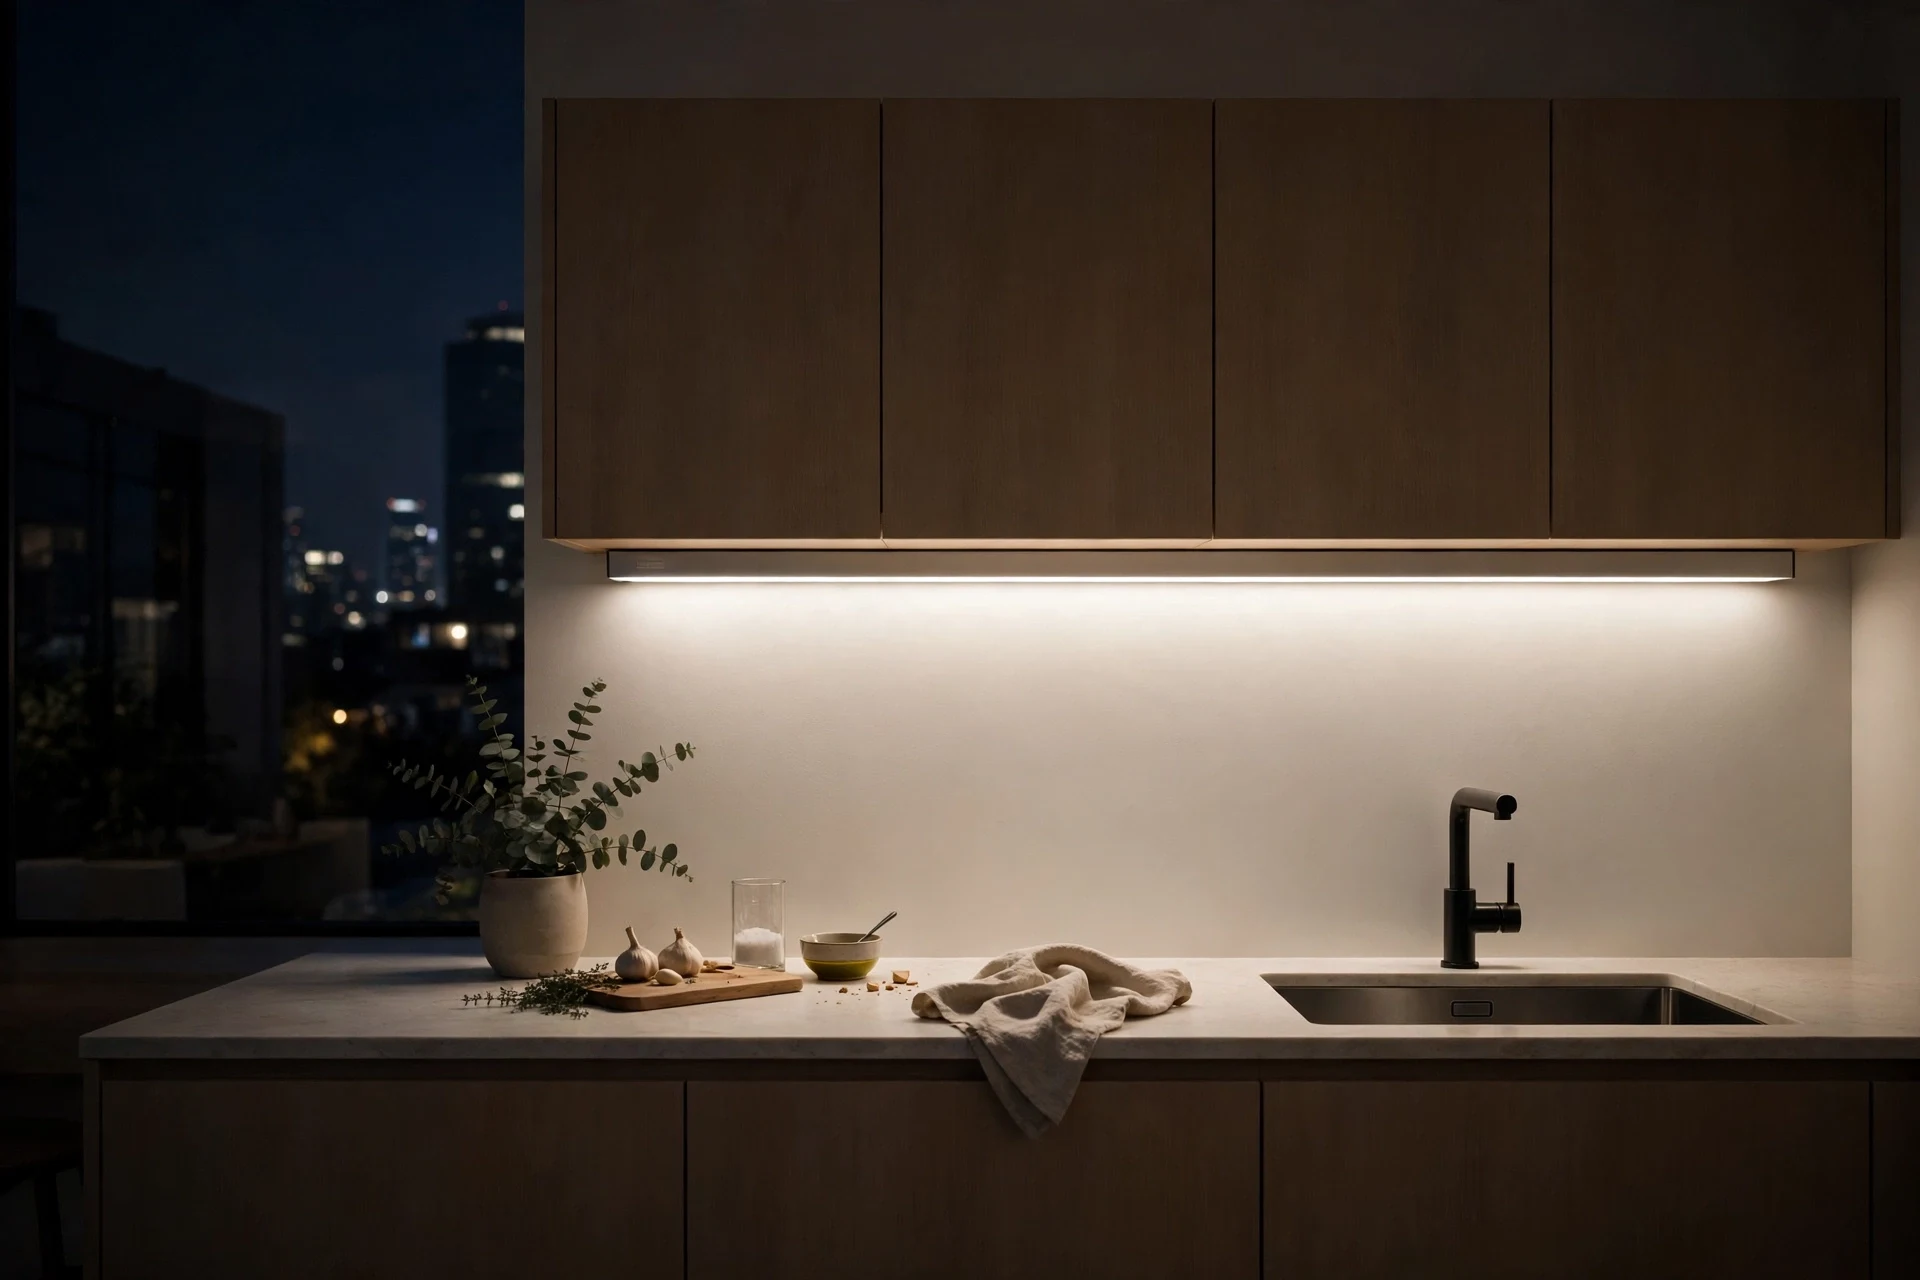
A kitchen has three cabinet lighting positions, and each one asks for a different profile. Under-cabinet light is task light, and it must cover the countertop without gaps and without shining into the cook's eyes. Inside-cabinet light is content light, and it switches on with the door and only needs to show what is on the shelf. Toe-kick light is ambient light, and it washes the floor with a soft glow and makes the cabinets look as if they float.
Use the table below as the first filter. Find your position, then read across for the profile type and diffuser that fit it. The sections after the table explain each choice. If one run covers two positions, plan them as two runs with their own profiles.
| Position | Job | Profile type | Diffuser | Watch out |
|---|---|---|---|---|
| Under wall cabinet (task) | Even light across the full countertop | Surface mount, recessed, or 45° corner | Opal on polished stone; frosted on matte | Gaps between runs; light in the cook's eyes |
| Inside cabinet (contents) | Show shelf contents when the door opens | Surface mount short bar | Frosted | Sensor and driver buried out of reach |
| Toe-kick (ambient) | Soft floor glow; floating look | Surface mount low strip | Frosted | Dust and cleaning water at floor level |
Match the profile to your strip
Measure the strip before you choose the profile. Standard strips are 8, 10, or 12 mm wide. Sleeved or high-output strips can be wider, and solder joints add width at every feed point. Choose an inner channel width at least 1 mm wider than the strip. A strip forced into a tight channel lifts at the edges, sticks poorly, and passes heat badly to the aluminum.
Depth matters as much as width. A deeper profile puts more distance between the diodes and the diffuser, which softens the light and hides individual points. For a dot-free line on a polished countertop, pair a deeper section with a high-density strip or COB tape and an opal diffuser.
Mounting type follows the cabinet stage. A recessed profile sits flush in a routed groove and suits new cabinetry. A surface mount profile screws or clips to the cabinet base and suits retrofits. A 45° corner profile tucks into the wall corner and throws light across the countertop instead of into the cook's eyes.
Choose the diffuser for your countertop
The diffuser decides whether the countertop shows a smooth line or a row of dots. On polished stone, granite, or glazed tile, each diode reflects as a bright point, so an opal diffuser is the safe default. It gives up the most light of the three covers, but it hides hot spots completely when paired with a high-density strip.
On matte laminate, butcher block, or brushed stone, a frosted diffuser is a good middle ground. It softens the dots and keeps more light than opal, while a clear cover passes the most light and diffuses nothing. Use it only where the run is fully hidden from view and the surface below is not reflective.
Get the light colour right
Two strip settings shape how the kitchen looks. Colour temperature sets the mood. Neutral white around 4000K suits most kitchens because it renders food honestly and keeps long prep sessions comfortable for everyday cooking. Warm white around 3000K suits timber kitchens and dining areas where the goal is ambience.
Colour rendering sets how true things look, and guides commonly recommend a CRI of 90 or higher for surfaces where food is judged. Lower values make fresh produce look grey and timber lose its warmth. Match the strip to the room's other lights. A 3000K strip under cabinets will clash with 4000K downlights, even if each one looks fine alone.
Power and control without the common mistakes
Size the driver from the total load, not from one strip. Add watts per metre across all runs on the circuit, then choose a driver rated at least 20% above that total. A driver run at full rating ages faster and its output drifts as the cabinet warms up. For runs longer than about two metres, 24V is the common recommendation because it keeps the far end from going dim.
Put the driver where air can reach it and a hand can reach it later. Good spots are an adjoining cabinet, the void above the wall cabinets, or behind a removable panel. Never seal a driver inside a closed carcass void. Heat builds up there, and replacing the driver later means dismantling the cabinetry around it.
Plan switching at the same time as power. Inside cabinets, a door switch or hand-wave sensor turns the light on with the door. For dimming, check that the dimmer matches the strip's control method before you order, because most standard wall dimmers do not dim low-voltage strips directly. Keep the sensor and the driver in the same accessible void. A sensor buried behind a fixed back panel is a maintenance problem waiting to happen.
Heat and steam near the sink and cooktop
Kitchens add two stresses that other rooms do not: steam and cooking heat. Near the sink, treat splash risk as the deciding factor for the whole run. Guides commonly recommend IP65 or higher for strips within splash range, and a profile with its diffuser and end caps fitted adds a further barrier.
Above the cooktop, heat is the constraint. Standard strips lose life faster in hot air, and heat weakens adhesive backing, so do not rely on adhesive alone there. Use clips or a channel as mechanical backup, and keep strips and drivers out of the rangehood canopy. If the cabinet above the range is part of the plan, check local clearance rules for cooktops before adding any lighting to it.
Kitchen cabinet lighting installation checklist
Run through this list before you order. Each item catches a mistake that is cheap to fix on paper and expensive to fix after fitting.
- Position decided for each run: task, contents, or ambient.
- Strip width measured including sleeves and solder joints; inner channel width at least 1 mm wider.
- Mounting type matched to cabinet stage: recessed for new cabinetry, surface or 45° corner for retrofits.
- Diffuser chosen for the countertop: opal for polished stone, frosted for matte surfaces.
- Colour temperature matched to the room's other lights; CRI 90 or higher for food-prep surfaces.
- Driver sized at least 20% above total load, in a ventilated and reachable void.
- 24V specified for runs longer than about two metres.
- Sensors and dimmers checked for compatibility before ordering.
- Splash and heat plan set for sink and cooktop zones.
- End caps, clips, and connectors ordered for every cut run and joint.
A kitchen cabinet run looks built-in when the profile, diffuser, and driver were chosen together. If you are specifying a range rather than a single kitchen, compare sections against your strip and groove dimensions first. Check the surface mount and recessed sections before committing to one section across the range.
Frequently asked questions
Do I need an aluminum profile under kitchen cabinets, or can I stick the strip directly to the cabinet?
A profile is worth fitting in most kitchens. Bare strip relies on adhesive alone, and heat and steam weaken that bond over time. A channel holds the strip mechanically, spreads heat away from the diodes, and gives the diffuser a seat, so the finished line looks built-in rather than stuck on.
Which diffuser should I use over a polished stone countertop?
Choose opal. Polished stone reflects each diode as a bright point, and only a fully diffusing cover hides that reflection. Pair the opal cover with a high-density strip or COB tape for the smoothest line.
What colour temperature works best in kitchens?
Neutral white around 4000K is the common choice for food preparation because it shows ingredients honestly. Warm white around 3000K suits timber kitchens and dining zones where ambience matters more. Whichever you choose, match it to the room's downlights so the benchtop does not look like a different colour.
Can I cut aluminum profiles on site?
Yes, with a fine-tooth saw suitable for non-ferrous metal. Cut the profile and the diffuser together so both lengths match exactly. Deburr the cut ends before fitting the end caps so the caps seat cleanly.
Where should the driver go in a kitchen?
Somewhere ventilated that you can reach later, such as an adjoining cabinet or the void above the wall cabinets. Never seal a driver inside a closed void, and keep it away from the oven and rangehood. If the run needs a new outlet or hardwiring, have a qualified electrician do that work.

Share this guide
Tell us what you need
Send Your Project Requirements
Share your contact details and tell us which LED profiles you need.
Explore custom profile options