
Trimless Plaster-In LED Profiles for Drywall Ceilings and Walls: Flange, Mudding and Service Access
Specify trimless plaster-in LED profiles for drywall ceilings and walls, covering flange and groove size, mudding and cracking risks, diffuser finish, and strip replacement access.
On This Page
What a plaster-in profile is
A plaster-in, or trimless, LED profile is an aluminum channel with side flanges that are set into a drywall ceiling or wall and then plastered over, so that only the light slot and diffuser remain visible. Done well, the ceiling looks uninterrupted and the light appears to come from a clean slot rather than from a visible fitting. Done badly, the joint cracks, the diffuser sits proud of the surface, or the strip cannot be changed without cutting the ceiling open.
This guide is about the drywall version specifically. It is different from a recessed profile for cabinets and joinery, where the channel sits in a routed groove in wood or board. In drywall work the risks are plaster-related: flange adhesion, joint compound build-up, cracking at the flange edge, and access after the ceiling is finished. Those risks should be specified before the order, not discovered after plastering.
What to specify before you order
| Item to specify | What to send |
|---|---|
| Location | Ceiling or wall, and whether the run is straight, perimeter, or includes corners |
| Drywall build-up | Board thickness and framing type, so the groove and flange seating can be checked |
| Channel and light slot | Required channel opening for your LED strip width, and the visible slot width you want |
| Flange | Flange design and whether it is intended to be mudded over, confirmed against your board thickness |
| Diffuser | Flush or recessed diffuser finish, and whether a dotless line is required |
| Strip width | The strip width you plan to use, so clearance inside the channel can be checked |
| Cable entry | Where cables enter the run and how the driver is accessed |
| Finish of visible parts | Finish reference for the diffuser surround and any visible trim |
| Lengths required | Cut lengths per run, or standard lengths if joints will be made on site |
The single most important drawing is a section through the ceiling or wall at the profile: board, framing, channel, flange, compound, and diffuser, all at their real thicknesses. If the supplier and the installer are working from different sections, the flange will not seat, the compound will be too thick over the flange, or the diffuser will not sit flush. Send one section and get both parties to confirm it.
Flange, groove and the flush finish
The flange is what makes a trimless profile work, and it is also where most failures start. The flange must sit flat against the board so that joint compound can feather out from it without a step. If the groove is cut too wide, the flange floats and compound cracks at the edge. If the groove is too tight, the channel is forced in and the board edge crushes. Confirm the groove width and the flange seating against your board thickness at sample stage, on a real offcut of your board, not on a display panel.
Compound thickness matters too. A thin skim over the flange feathers cleanly; a thick build-up over the flange edge shrinks, cracks, and shows as a line under raking light. Ask your plasterer how many coats and what feathering distance they plan, and confirm that the flange design suits that method. Mesh tape or joint reinforcement at the flange edge is a plasterer's decision for your board and compound system — raise it with them before work starts, rather than treating it as a profile feature.
The diffuser finish is the visible test. A diffuser that sits proud of the ceiling catches light and shadow along its whole length; a diffuser that sits too deep leaves a dark groove. The target is flush with the finished plaster surface. Confirm the diffuser type and its seated position with a sample installed in a board offcut and plastered, because a diffuser checked loose on a bench does not prove a flush finish in a ceiling.
How plaster-in differs from other recessed options
Plaster-in vs. recessed cabinet profiles. Cabinet profiles sit in a routed groove in joinery, where the groove is machined to size and the profile is visible or semi-visible. Plaster-in profiles are buried in a wall or ceiling build-up and depend on plasterwork for their finish. The cabinet version is specified by groove size and strip clearance; the plaster-in version is specified by flange, board thickness, and compound method as well.
Plaster-in vs. surface-mounted profiles. A surface-mounted profile is fixed to a finished surface and remains visible as a fitting. It is easier to install and far easier to service, but it reads as a fitting on the ceiling. A plaster-in profile reads as architecture, at the cost of a more demanding installation and a harder service route. Choose plaster-in when the uninterrupted ceiling is the design requirement, not as a default for every run.
Plaster-in vs. suspended profiles. Suspended profiles hang below the ceiling on wires or rods and suit open ceilings and long linear runs. They need suspension points, cable routing, and joint planning, but they do not involve plaster at all. If the ceiling is open or the runs need frequent access, a suspended profile is usually the more practical choice.
Light, heat and diffuser choices
A plaster-in channel is surrounded by board and compound, so heat and access deserve more attention than they do in an open profile. Confirm that the strip width fits the channel with clearance, that the diffuser sits fully without bowing, and that the strip can be removed and replaced from the light slot or from an access point without breaking plaster. If the strip can only be changed by cutting the ceiling, that limitation should be known and accepted at design stage — or the run should be redesigned with an access strategy.
For the light itself, an opal or frosted diffuser gives a softer, more continuous line, which suits a trimless slot viewed at close range. If a dotless line is required, confirm it with a sample of the exact strip, channel depth and diffuser combination, not by assumption. LED strips, drivers and controllers are not included unless the quotation says so; list them separately if you need them quoted, and confirm where the driver sits and how it is reached for replacement.
Corners deserve a separate check. A straight run is easy to make flush; a corner joint in a plaster-in run is where diffuser alignment and light continuity are most visible. Specify corners explicitly — whether they are mitred, joined with a connector, or formed with a dedicated corner piece — and confirm the diffuser treatment at the corner on a sample.
Installation sequence and maintenance
The installation sequence is part of the specification, not just site practice. In general terms: the channel is set and fixed, the board and flange joints are prepared, compound is applied and feathered, the surface is finished, and only then are the strip and diffuser fitted. Fitting the strip before plastering risks compound and dust in the channel and on the strip. Confirm the sequence with your installer and supplier so that the channel is protected during plastering and the strip is fitted into a clean channel.
After handover, maintenance is limited to wiping the diffuser, replacing the strip, and touching up the plaster edge if it is knocked. The first two should be possible without disturbing the plaster; if they are not, the maintenance plan should say so honestly. Keep spare diffuser lengths and a record of the strip type and driver location with the project handover documents, so a future replacement does not start with guesswork.
Packing and delivery
Standard lengths are 1 m, 2 m, 2.5 m and 3 m, and lengths can be customised. For plaster-in runs, cut-to-length ordering reduces on-site joints in a finished ceiling, which is exactly where joints are hardest to hide. If you order cut lengths, send a schedule with each run length, corner requirements, finish, and diffuser quantities.
Commercial terms, as verified for this site: minimum order 1,000 pcs per model per finish (the same for custom orders); samples are free with freight collect, and standard samples take about 7 days; lead time is 20–30 days from prepayment, plus about 7 days for tooling if a new mould is required. Flanges are easily bent in transit, so confirm packing protects the flange edges and the diffuser face, and inspect flanges on arrival before plastering starts — a bent flange found after the board is cut costs far more than one found at delivery.
FAQ
Is a plaster-in profile suitable for every ceiling? No. It suits drywall ceilings and walls where a trimless slot is wanted and where the board thickness, framing and plaster method can be confirmed. Open ceilings, concrete soffits and ceilings that need frequent access usually suit a different mounting method.
What causes cracking along a plaster-in profile? Usually a combination of flange seating, groove width, and compound build-up at the flange edge. Confirm groove width, flange seating and the plasterer's compound method on a board offcut before full installation.
Can the LED strip be replaced without damaging the ceiling? That depends on the profile design and the access strategy. Ask at sample stage how the strip is removed and replaced, and where the driver is located. If replacement requires cutting plaster, decide that at design stage.
Should the strip be fitted before or after plastering? After, into a clean channel. Fitting it before plastering exposes it to compound and dust. Confirm the sequence with the installer.
Does the profile include the LED strip and driver? Not unless the quotation includes them. LED strips, drivers and controllers are not included by default.
How do I order a plaster-in run? Send a section drawing through the ceiling or wall, the board thickness, run lengths and corners, strip width, diffuser type, cable entry and driver access, and the finish reference for any visible parts.
Inquiry checklist
- Ceiling or wall location, run layout, and corner requirements
- Section drawing: board, framing, channel, flange, compound, diffuser
- Board thickness and groove/flange seating confirmation
- Strip width, diffuser type, and dotless requirement
- Cable entry and driver location/access
- Lengths: cut-length schedule or standard lengths
- Quantity, destination, and whether strips, drivers and controllers are to be quoted
Related products
3 Profiles
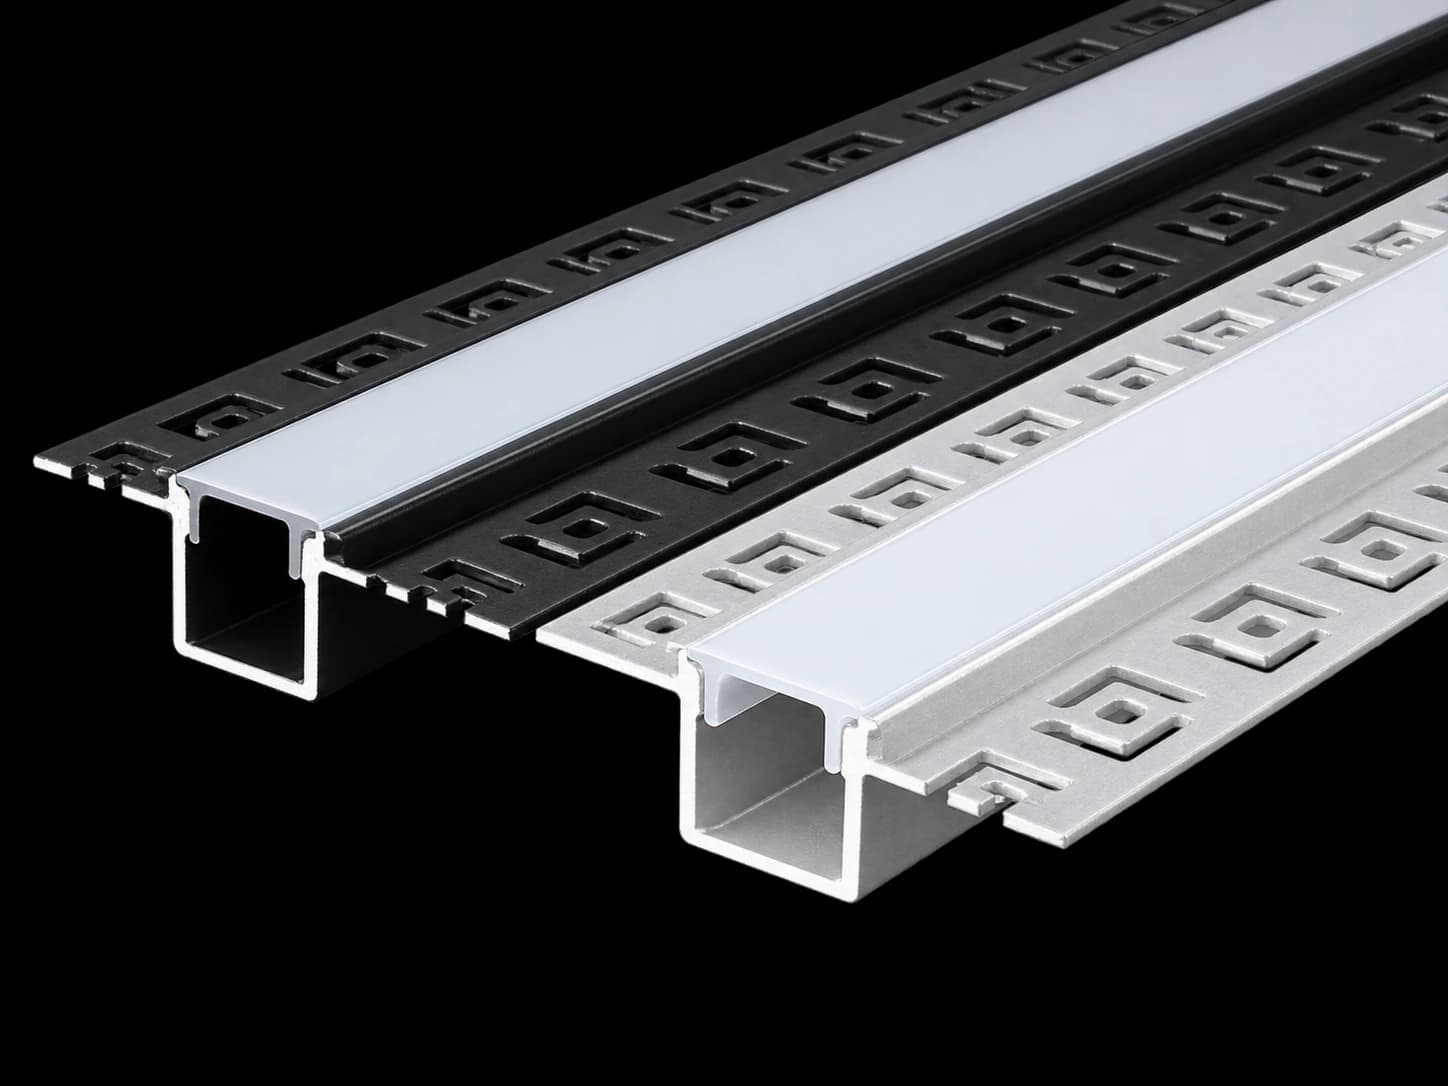
NY-XT277
A narrow channel with perforated wings for integrating a line of light into a finished wall or ceiling.
View Product Details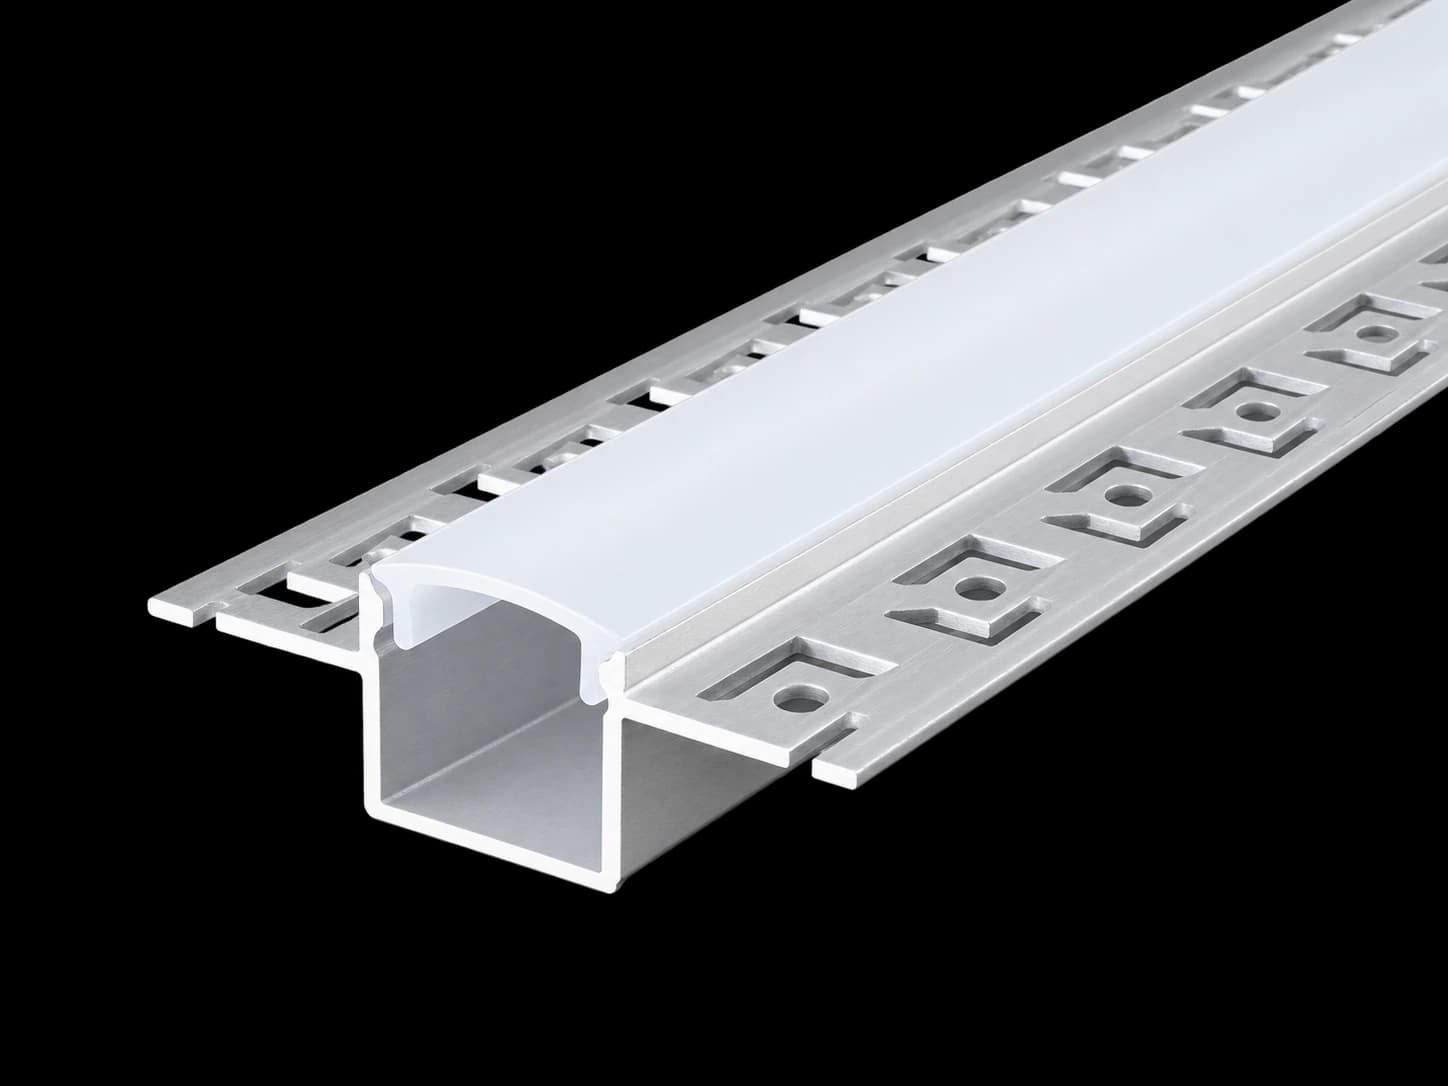
NY-XT482
A compact perforated-flange section with a gently curved diffuser for integrated lighting details.
View Product Details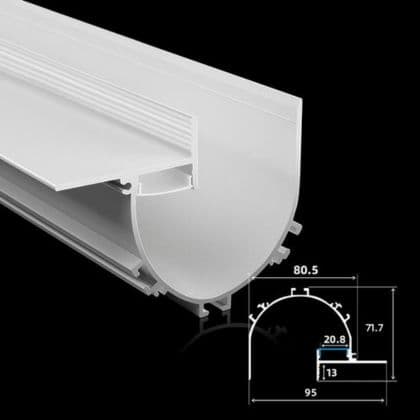
DLP-A01
A curved architectural section with a side channel for planning drywall lighting at a wall or ceiling transition.
View Product Details
Share this guide
Tell us what you need
Send Your Project Requirements
Share your contact details and tell us which LED profiles you need.
Explore custom profile options