
How to Choose the Right LED Light Strip Aluminum Channel
Learn how to choose the right LED aluminum channel: match strip width, plan heat dissipation, pick a diffuser, and choose the mounting style.
On This Page
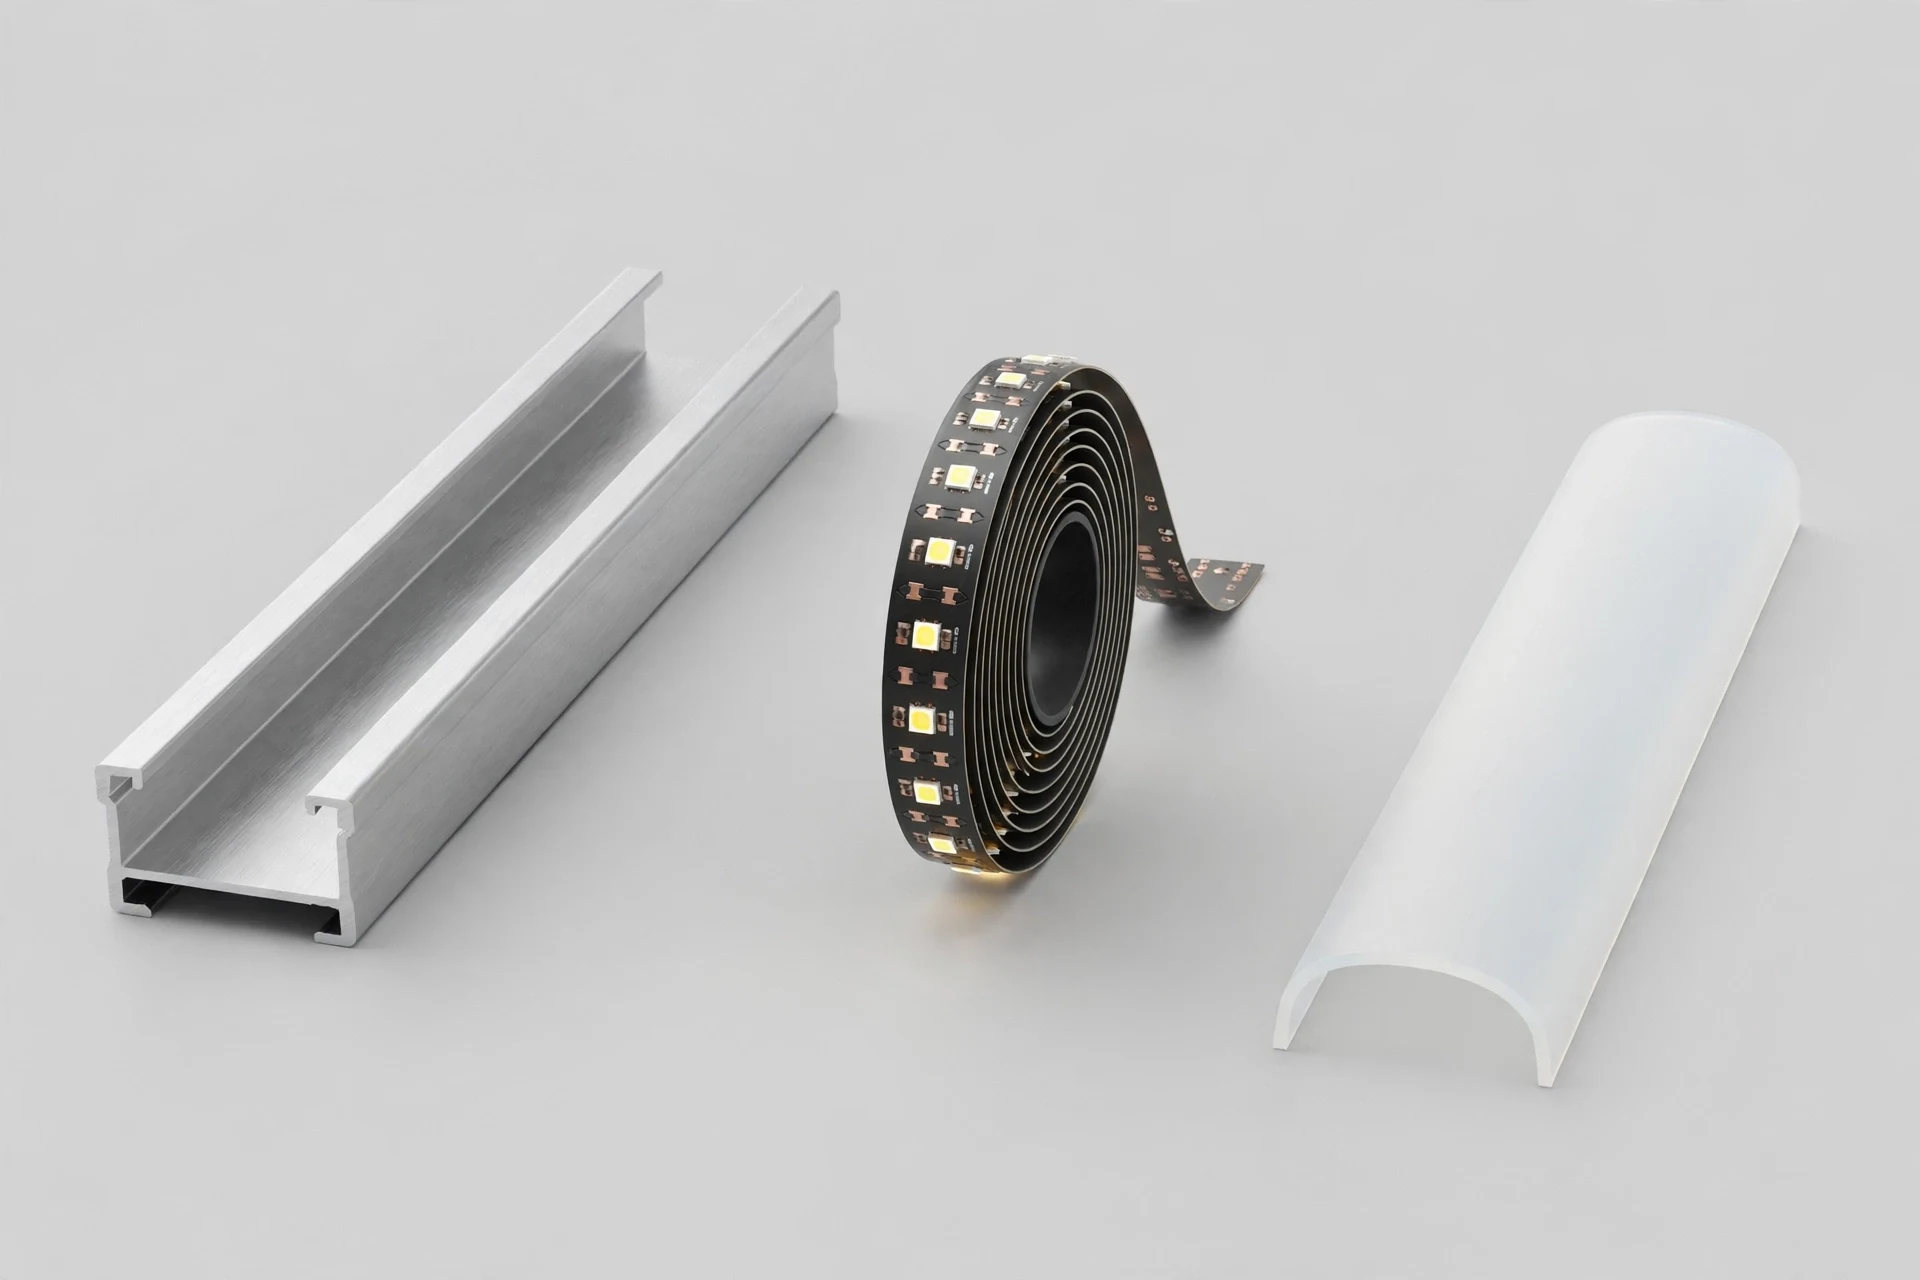
A channel is the part that turns a bare strip into a finished light line. It holds the strip straight, spreads its heat, and carries the diffuser that softens the light. Choose it around three facts: the width of your strip, the heat your strip makes, and the way the light must sit in the room.
Get those three facts right, and the rest of the choice falls into place. The width decides whether the strip fits at all, and the heat decides how much aluminum and depth you need. The mounting style decides whether the finished detail looks built in or stuck on. This guide works through each fact in order, with examples from common rooms and surfaces, then gives you a checklist to run before you order.
This guide covers width fit, heat, diffusers, mounting styles, and the mistakes that cause rework. It does not rank channels against each other, because the right channel depends on your strip and your surface. Use it to shortlist profiles, then confirm the final choice against the section drawing and a sample.
01. Start with the strip, not the channel
Every selection starts with the strip you plan to use. Measure its width first, then check the connectors and the cable route that must share the same space. A channel is only useful if the strip, its connectors, and its cables all fit inside it with room to spare.
Use the usable internal width, not the outside width of the profile. The outside width includes walls, flanges, and fixing features that do not hold the strip. Two profiles with the same outside width can accept very different strips, so compare the internal opening on the section drawing.
Leave clearance for fitting and for heat. A strip forced into a tight slot is hard to install, hard to replace, and leaves no air path around the tape. If your strip has a thick coating or a wide connector, measure that part too, not just the bare tape. Connectors add width at the ends, and cables need a path out of the channel, so both belong in the same measurement.
02. Heat: why aluminum mass and depth matter
An LED strip turns part of its power into heat, and that heat must go somewhere. Aluminum spreads heat away from the strip and into the surrounding air and material. A channel with more aluminum mass and more depth gives that heat a larger path out. That path is what keeps the strip near the temperature it was designed for.
High-output strips need more headroom than low-output accent strips. When a hot strip sits in a small channel, the strip stays hot, and its light output and service life suffer. Deeper and wider profiles are the simple answer when the strip is bright or the run is long.
Do not judge heat handling by outside size alone. A tall, thin-walled profile can hold less aluminum than a shorter, thicker one. Ask for the section drawing, and compare the wall thickness and the contact area under the strip, not just the headline dimensions.
03. Diffusers: clear, frosted, or opal
The diffuser decides how the finished light reads. A clear cover passes the most light, but it also shows the individual diodes more clearly. It suits task lighting where brightness matters more than a perfectly even line, such as a worktop.
A frosted or opal cover softens the light and hides the diode points. The trade is a small loss of brightness for a much smoother line. For rooms where the light line is visible at eye level, that trade is usually worth making. Glossy counters and glass shelves make the difference easy to see.
Depth and diffuser work together. A deeper channel gives the light more room to blend before it reaches the cover. A shallow channel with a clear cover is the combination most likely to show dots, even with a dense strip. When you compare samples, view them at the distance and angle the finished line will be seen from.
Ask for a sample of each diffuser with your strip before you decide. A cover that looks milky in a catalogue photo can read quite differently once it is lit. The only reliable test is your own strip behind your own cover.
04. Mounting styles: surface, recessed, corner, suspended, plaster-in
Surface mount profiles fix onto a visible surface. They suit retrofits and furniture where cutting is not possible and where the finished detail can stay visible. Recessed profiles sit inside a prepared groove, so only the diffuser and a slim edge show. Corner profiles aim the light from an angle, which suits cabinet edges and wall washing.
Suspended profiles hang below the ceiling on wires or rods, which suits open rooms and work areas. Plaster-in profiles are built into the board and finish, so the light line reads as part of the wall or ceiling. Note that recessed and plaster-in are not the same thing: a general recessed channel is not automatically suited to plastering over. That distinction matters at ordering time, because the two types use different flanges and fixing details.
Pick the mounting style from the surface you have, not from the look you want alone. If you cannot cut a groove, a recessed profile is not an option, however good it looks. If the ceiling cannot carry suspension points, a suspended profile needs a different plan.
05. The width and heat check table
Use this table to test a channel against your strip before you shortlist it, and keep it beside the section drawing. Each row names one fact you already know, the check to run on the channel, and the failure that follows when the check is skipped.
| What you know | What to check on the channel | What goes wrong if it is off |
|---|---|---|
| Strip width and connector size | Usable internal width with clearance | Strip will not sit flat, or the diffuser will not close |
| Strip output level | Aluminum mass and channel depth | Heat builds up and light output falls over time |
| Where the line will be seen | Diffuser type and channel depth | Dots show at eye level, or the line looks harsh |
| Surface and cutting options | Mounting style that fits the surface | The profile cannot be fixed as planned |
| Run length and joints | End caps, clips, and diffuser lengths | Parts run short at joints and ends |
Work through the table in order, and do not skip the last row. A channel that passes the width and heat checks can still fail on site when its small parts are missing or mismatched. The table is a shortlisting tool, not a substitute for the section drawing and a sample.
06. Common selection mistakes
The most common mistake is buying by outside width. A profile that looks right on a web page can still fail if its internal opening is too narrow for the strip and connectors. Always check the section drawing and the internal opening before you commit.
The second mistake is pairing a shallow channel with a clear diffuser and expecting a dot-free line. Depth and diffusion are what hide the diodes, not the strip alone. If the line will be seen directly, choose depth and a frosted or opal cover.
The third mistake is ordering the channel and forgetting the small parts. End caps, clips, and diffuser lengths are model-specific, and a run has two ends. A shortfall in a small part can stop an installation just as firmly as a wrong channel. Review the complete profile kit checklist before you order.
The fourth mistake is assuming one profile fits every surface. A recessed channel needs a groove, a plaster-in channel needs a board detail, and a suspended channel needs fixing points. Match the profile to the surface first, then to the strip.
07. Selection checklist
Run through this list with your strip data and your section drawing in hand, and do not skip an item because it looks minor. Every item should have an answer before the order goes out.
- Strip width, connector size, and cable route measured
- Usable internal width confirmed with clearance
- Heat headroom checked for the strip output level
- Diffuser type chosen for the viewing position
- Mounting style matched to the surface and cutting options
- End caps, clips, and diffuser lengths counted per run end
- Section drawing reviewed, not just outside dimensions
- Sample checked with the actual strip before a bulk order
With the strip data, the section drawing, and this checklist, you can compare channels on fit, heat, and finish instead of guessing from outside dimensions. That comparison is the whole point of the exercise, and it is what keeps a lighting detail from turning into rework. Keep the strip data and the drawing with the order, so a later reorder starts from the same facts.
Frequently asked questions
What is the first thing to check when choosing an LED aluminum channel?
The usable internal width against your strip width. Include the connectors and the cable route in the same check, because a strip that fits alone can still fail once its connectors are added.
Does a deeper channel hide LED dots?
Depth helps, but it does not work alone. A deeper channel plus a frosted or opal diffuser hides dots far better than depth or diffusion on its own. Check a sample with your strip, at the viewing distance you plan, before you judge the result.
Are recessed and plaster-in profiles the same?
No. A recessed profile sits in a prepared groove, while a plaster-in profile is designed for the board and finishing process. Do not assume a general recessed channel can be plastered over.
Which diffuser should I choose?
Choose clear for maximum brightness in task lighting. Choose frosted or opal when the light line is visible and a smooth, even line matters more than peak brightness.
What parts do buyers most often forget?
End caps, clips, and diffuser lengths matched to the channel lengths, counted per run end rather than per run, need confirmation against the channel model.

Share this guide
Tell us what you need
Send Your Project Requirements
Share your contact details and tell us which LED profiles you need.
Explore custom profile options